Page 4 of 6

Re: Series 2 survivor

PostPosted: Thu Aug 04, 2022 8:18 pm
by Warkton Tornado No.1
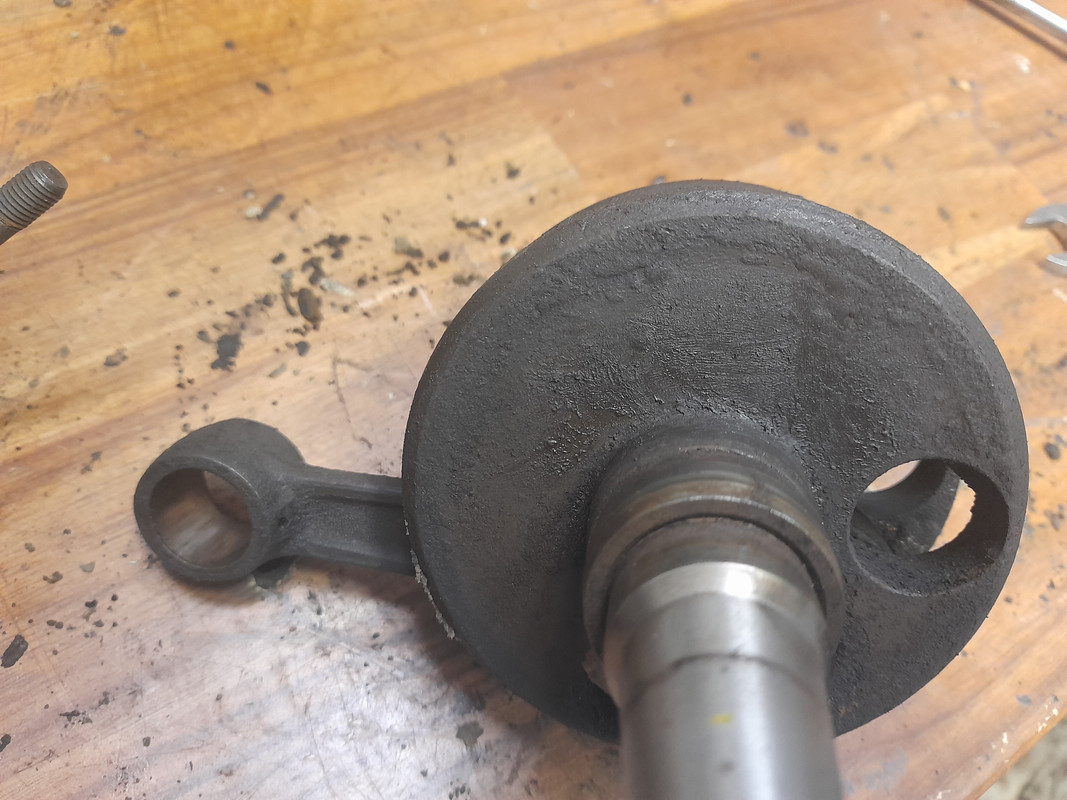
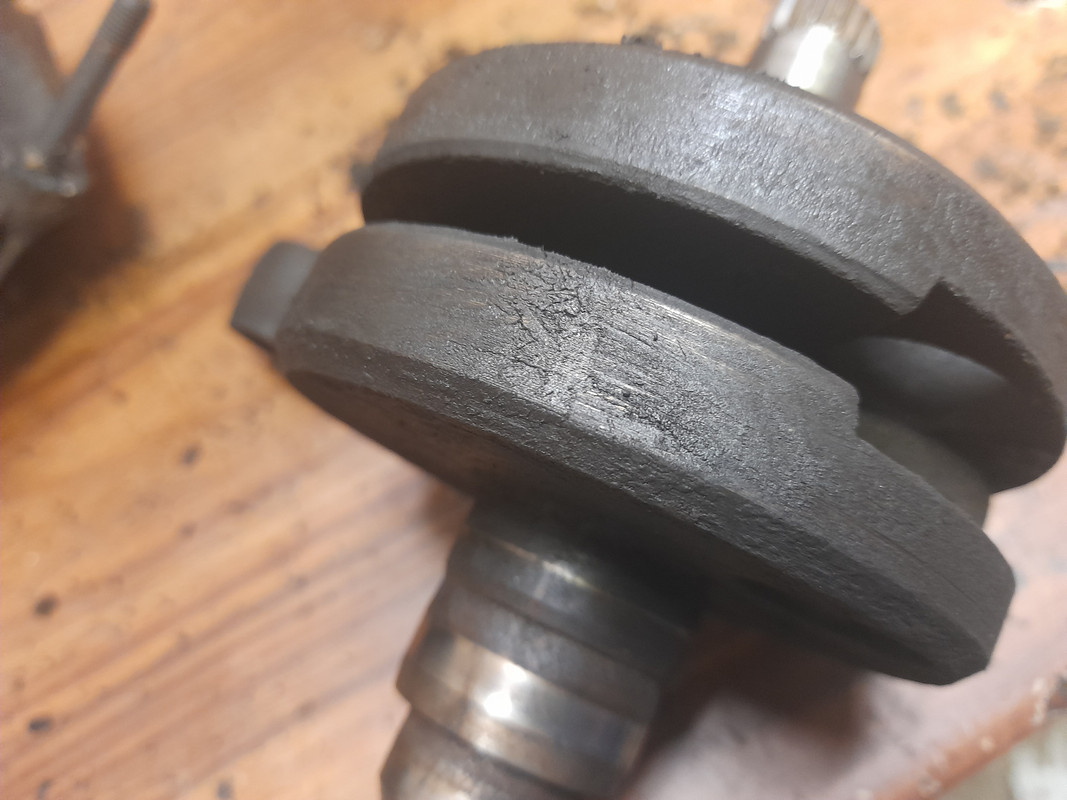
If only there were a small block kit that provided 25 BHP just bolted on* with a raft of torque that puts many of the large block kits to shame. Oooh! There is! MQ M210 TV. As you'd be upgrading the crankshaft in any case, I would have thought it's the obvious choice.... :D

*all of the kits in Sticky's book were just assembled with no attempt @ port matching/optimising which suggests to me that there is scope for further gain.

Re: Series 2 survivor

PostPosted: Fri Aug 05, 2022 3:06 pm
by dickie
Quattrini may well be the best, but I've got a rt195 and 62/110 crank on the shelf. I think the decision will be whether I build them into the original crankcase or use an old Spanish one I have lying about. Which means I can make it totally original just by swapping the motors, as long as I build the rt195 on points with 6v lighting.

Re: Series 2 survivor

PostPosted: Fri Aug 05, 2022 11:38 pm
by Warkton Tornado No.1
That makes sense to a great extent. The only flaw that particularly applies to the very conservative port timings of the RT is that with the extra 4 mm stroke I would advise that the durations are raised to @ least pro rata. It can be done with care & the correct tooling as I have done to plated bores. The image herewith depicts porting WIP.

GBHL's transfers WIP.jpg

Re: Series 2 survivor

PostPosted: Sat Aug 06, 2022 12:34 pm
by dickie
Warkton Tornado No.1 wrote:That makes sense to a great extent. The only flaw that particularly applies to the very conservative port timings of the RT is that with the extra 4 mm stroke I would advise that the durations are raised to @ least pro rata. It can be done with care & the correct tooling as I have done to plated bores. The image herewith depicts porting WIP.

GBHL's transfers WIP.jpg

Yes Mark, it's not going to be completely straightforward with a 62 stroke crank, but who wants straightforward anyway? I might take the exhaust up to around 180 as I was surprised how easy my 175 was with 178 exhaust duration. It'll probably depend on what mood I'm in at the time. I've never worked on nicasil bore before but I guess you just use hard stones instead of diamond burrs? And take your time of course.

Anyway that's probably not going to.happen until winter.

Re: Series 2 survivor

PostPosted: Sat Aug 06, 2022 5:05 pm
by Warkton Tornado No.1
dickie wrote:
Warkton Tornado No.1 wrote:That makes sense to a great extent. The only flaw that particularly applies to the very conservative port timings of the RT is that with the extra 4 mm stroke I would advise that the durations are raised to @ least pro rata. It can be done with care & the correct tooling as I have done to plated bores. The image herewith depicts porting WIP.

GBHL's transfers WIP.jpg

Yes Mark, it's not going to be completely straightforward with a 62 stroke crank, but who wants straightforward anyway? I might take the exhaust up to around 180 as I was surprised how easy my 175 was with 178 exhaust duration. It'll probably depend on what mood I'm in at the time. I've never worked on nicasil bore before but I guess you just use hard stones instead of diamond burrs? And take your time of course.

Anyway that's probably not going to.happen until winter.


I've got diamond & TC burrs but over the years I have gained a large selection of sanding drums with various grits that I feel have far less tendency to cause flaking. A right angle head is a must & a good foot speed control can be had with a sewing machine pedal that enables soft starts etc. A Makita sanding file has also proved to be a great tool.

I'm not on commission :lol: but Sticky's kit book tells us a lot of port timing data for the cylinders on test & if you select one to emulate (as you can with 'stroking') then that raises anybodies' chances to make a peach of an engine. Just don't apply a reed valve cylinder's timing to a piston ported barrel as far as the inlet goes ;) In fact, in the case of a Rapido, say, 'less is more' in my experience for inlet duration.

Re: Series 2 survivor

PostPosted: Sat Oct 01, 2022 12:54 pm
by dickie
When stripping the top end I came across something of an anomaly.

This gasket is about 57mm, so maybe 150cc, but the stud spacing is for a large block casing.

It doesn't really matter as I'm obviously not going to re-use it, but I'm just curious about what it may be from?

Image

Re: Series 2 survivor

PostPosted: Wed Oct 12, 2022 10:35 am
by dickie
Well, it seems nobody knows what that gasket is from or they're not interested :lol:

Anyway, the top end came off without any drama and isn't very worn at all, but is at the top end of acceptable wear. 0.5mm ring gap and 0.006" bore clearance (inaccurate as I only measured using feeler gauges).
Image
Image
There's quite a bit of blow-by and lots of carbon build up in the bottom end.
Image
Also, the crank and big end seem to be in decent nick although obviously need carbon cleaning off.
Image
Image

So I'm wondering if I could just renew the piston rings and put it all back together after a good clean. Of course I could, but is it advisable? How much difference does it really make?

The thing is that I'm trying to replace as little as is reasonable. For example, the big end feels like there is no play and is smooth, but can I really tell without getting it rebuilt?

Advice please?

Re: Series 2 survivor

PostPosted: Wed Oct 12, 2022 11:20 am
by dickie
Actually, I've just read my own post and think I'm being daft.

First oversize piston and a crank rebuild. Inexpensive and then it's done right.

Re: Series 2 survivor

PostPosted: Wed Oct 12, 2022 12:23 pm
by nickw
Lol^
I did see the post about the gasket but didn't have a clue. I'd also agree with rebuild of crank and replace piston :-)

Re: Series 2 survivor

PostPosted: Wed Oct 12, 2022 10:09 pm
by Fast n Furious
Stick the crank in an ultrsonic cleaner containing some very warm neat oven cleaner for 30 mins. Wash it clean and then check it.

Re: Series 2 survivor

PostPosted: Thu Oct 13, 2022 7:07 am
by dickie
Fast n Furious wrote:Stick the crank in an ultrsonic cleaner containing some very warm neat oven cleaner for 30 mins. Wash it clean and then check it.

The only problem is that I don't have an ultrasonic cleaner so I have to use my mate's. He isn't happy about putting oven cleaner in it. Do you not think the usual hot detergent mix will do?

When I used to work in process industry, I remember cleaning chemically deposited glass from the inside of 4mm bore pipes just in water in ultrasonic baths. I guess it largely depends on the power of the ultrasonics?

Re: Series 2 survivor

PostPosted: Thu Oct 13, 2022 8:00 am
by Storkfoot
When I rebuilt my standard TV175, I too used feeler gauges on the piston to bore clearance. I got a new piston and rings and put it all together. It wasn’t an oversize piston mind. It proved a pig to start it but ran okay when it did.

I then got it rebored with another new piston. That rectified the poor starting and it has been spot on ever since.

Is it possible to properly measure the piston to bore clearance with feeler gauges?

Re: Series 2 survivor

PostPosted: Thu Oct 13, 2022 8:32 am
by dickie
Storkfoot wrote:Is it possible to properly measure the piston to bore clearance with feeler gauges?

I don't see how you can measure it accurately with feelers. For a start, the gauge has to conform to the cylinder wall which becomes more difficult as the gauge increases. Also, it's surely a black art as a single point measurement can't be very informative; the wear on exhaust and inlet port faces is presumably more than that on the transfer port side....I think. Plus several other factors that I can't think of :?

Anyway, I've ordered 0.2mm oversize as I just wanted to make sure it's a nice (if drastically underpowered) engine.

Re: Series 2 survivor

PostPosted: Fri Oct 14, 2022 11:49 am
by Warkton Tornado No.1
dickie wrote:Well, it seems nobody knows what that gasket is from or they're not interested :lol:

Anyway, the top end came off without any drama and isn't very worn at all, but is at the top end of acceptable wear. 0.5mm ring gap and 0.006" bore clearance (inaccurate as I only measured using feeler gauges).
Image
Image
There's quite a bit of blow-by and lots of carbon build up in the bottom end.
Image
Also, the crank and big end seem to be in decent nick although obviously need carbon cleaning off.
Image
Image

So I'm wondering if I could just renew the piston rings and put it all back together after a good clean. Of course I could, but is it advisable? How much difference does it really make?

The thing is that I'm trying to replace as little as is reasonable. For example, the big end feels like there is no play and is smooth, but can I really tell without getting it rebuilt?

Advice please?


I've been 'in another place' so way behind on loads of stuff, including the intended SIL brake pivot fix. My apologies, but if that can happen, it will.....not just yet though.

Anyway, small bore cylinders - & therefore gaskets - to suit large blocks were produced with the Serveta 200 to 125 conversion cylinders & possibly Lambro idiosyncrasies may have spawned your gasket.

In the absence of tool-shop measuring equipment, feeler gauges will @ least be an indicator of ' Go - Not Go' & 0.006" is way out of court for a bore clearance that should be about half of that. As you decided to rebore in any case, I'm just clarifying that feelers can be a good flag to something not quite right.....

Re: Series 2 survivor - silent blocks

PostPosted: Mon Oct 17, 2022 5:40 pm
by dickie
Which way do these go?
Image
I think the protruding tube goes inwards to make contact with the cones in the frame, but I'm not sure and the ones I took out seemed to be the same both ends; due to wear I'd guess.

And what should the distance between them be? Having (nearly) always fitted later large type before it's not something I've had to think about.

Anyone know for sure?

Re: Series 2 survivor

PostPosted: Wed Oct 19, 2022 12:25 pm
by ladsdad
Hi
The head gasket in the picture is from a Lambro

Re: Series 2 survivor

PostPosted: Wed Oct 19, 2022 4:27 pm
by Warkton Tornado No.1
dickie wrote:Which way do these go?
Image
I think the protruding tube goes inwards to make contact with the cones in the frame, but I'm not sure and the ones I took out seemed to be the same both ends; due to wear I'd guess.

And what should the distance between them be? Having (nearly) always fitted later large type before it's not something I've had to think about.

Anyone know for sure?


Brand new, unfitted, such pre-stressed moulded bushes would usually be symmetrical. Inevitably, rubber creeps during use, but the bush depicted will pull back to shape. I'd fit the protruding part LH side outboard just to make fitting engine to frame easier as well as that may be the softer bush of the two you have there.

Re: Series 2 survivor

PostPosted: Wed Oct 19, 2022 9:24 pm
by dickie
Warkton Tornado No.1 wrote:Brand new, unfitted, such pre-stressed moulded bushes would usually be symmetrical. Inevitably, rubber creeps during use, but the bush depicted will pull back to shape. I'd fit the protruding part LH side outboard just to make fitting engine to frame easier as well as that may be the softer bush of the two you have there.


I get what you're saying Mark, but I'd already decided to fit them both with the protrusion against the cones. My reasoning is that I don't want the outer bush making contact with the frame or cones and restricting engine rotation.

Re: Series 2 survivor

PostPosted: Thu Oct 20, 2022 9:57 am
by Warkton Tornado No.1
dickie wrote:
Warkton Tornado No.1 wrote:Brand new, unfitted, such pre-stressed moulded bushes would usually be symmetrical. Inevitably, rubber creeps during use, but the bush depicted will pull back to shape. I'd fit the protruding part LH side outboard just to make fitting engine to frame easier as well as that may be the softer bush of the two you have there.


I get what you're saying Mark, but I'd already decided to fit them both with the protrusion against the cones. My reasoning is that I don't want the outer bush making contact with the frame or cones and restricting engine rotation.


Just for completeness, that's an impossibility as the engine blocks have a subtle stop allowing the outer to only be pressed in - from outboard - so far up to that 'register'. Otherwise, engine mounts would be able to be pushed through. You would be in trouble if that were the case :!:

There are variants in the cones so you need to ensure you have the correct pair fitted.

Re: Series 2 survivor

PostPosted: Thu Oct 20, 2022 8:10 pm
by dickie
Cheers Mark, I didn't know that.

So today, me and my mate took a drive down to AF to get the following done:

Rebore to match 52.2mm piston
New rod kit on my crank
Magnetise flywheel.

Piston was damaged but Ben still bored barrel.

Then I snapped a ring with several people watching...muppet.

Flywheel didn't need magnetising.

Crank wasn't worth repairing as the seal faces were lipped.

Ben persuaded me that I'm just wasting time and money building a bog standard 125.

All in all, it was a waste of diesel and a piston ring.

BUT, we went to Scarborough and had very nice fish and chips while the barrel was bored. I bought a few spares and sticky's kit book, all with 10% LCGB discount following Gaz Powell's reminder. I even got 40p off the replacement ring that I'll never use :lol:

And I'm sure I had a better day than Liz Truss.