Re: S3 TV175 build up
PM sent Gizmo so as not to detract from this excellent thread with tales of SIL woe
The ability to post messages is restricted to LCGB members. Any questions contact us at lcgbadmin@googlemail.com
http://www.ilambretta.co.uk/forum/
http://www.ilambretta.co.uk/forum/viewtopic.php?f=19&t=15852

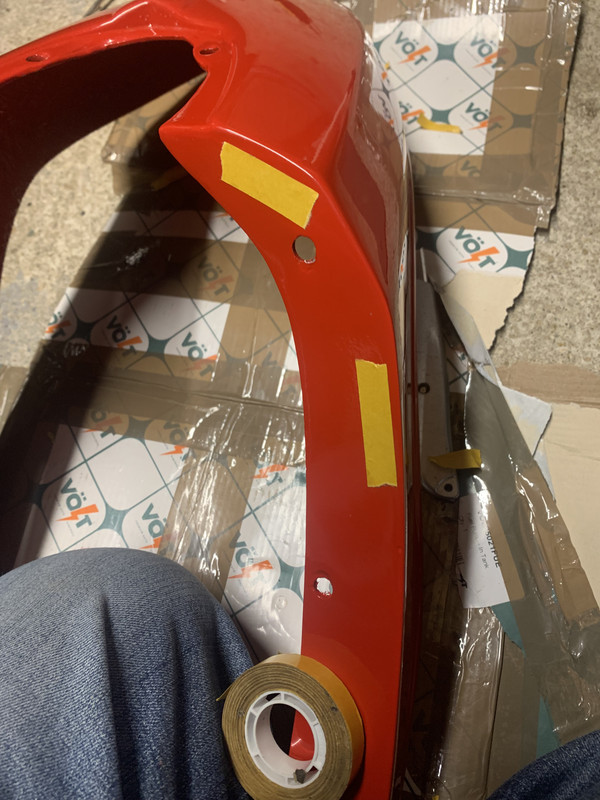
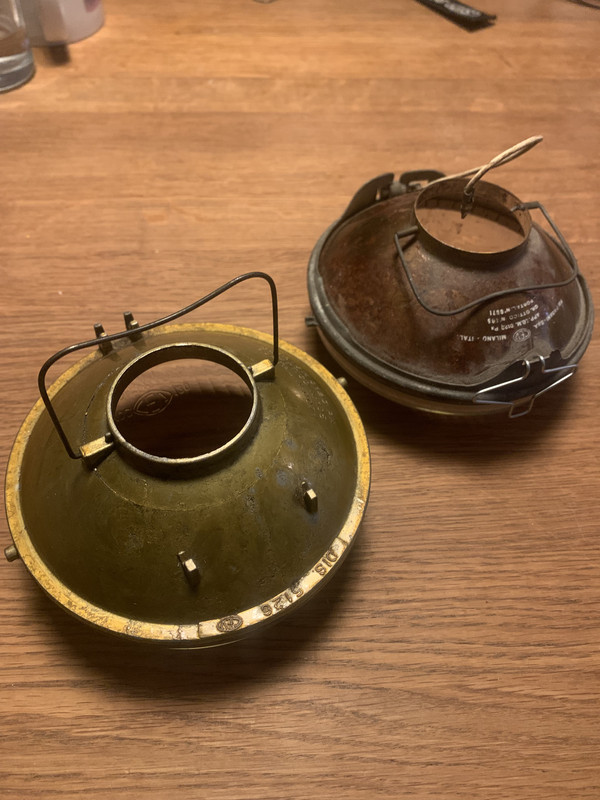
alex_hughes wrote:Ah, working with SIL panels... always a challenge. I built an Indian GP200 up from a frame using SIL NOS and struggled with all of the panels, but a good tip I got from Jon at Urban Scooters in Birmingham helped me fit my side panels. He pointed out that a on a lot of SIL frames (including mine) the lip which holds the side panel on was too high and needed filing down for the panels to sit down far enough. Don't know if this will help on your frame but worth comparing to an Italian or Spanish frame if you can.
This lip here -
Anyway... back to me...

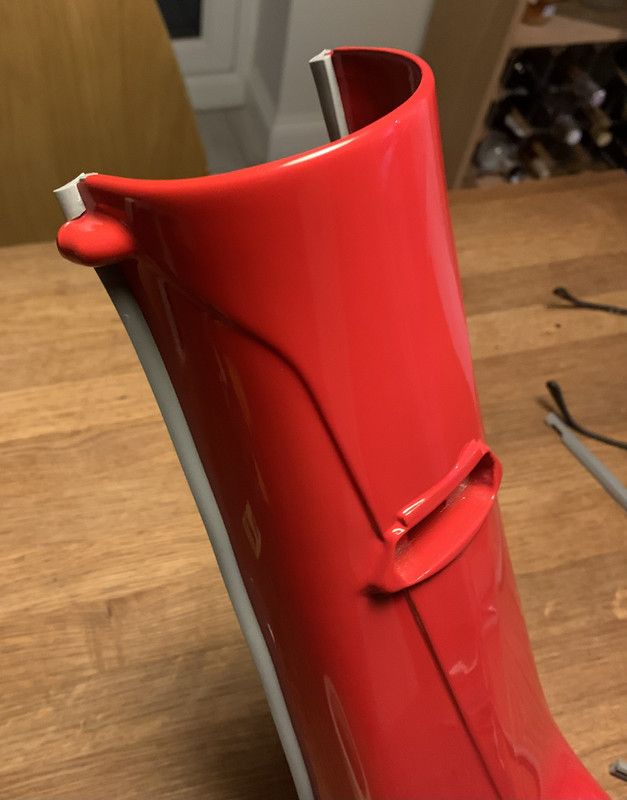


gaz_powell wrote:alex_hughes wrote:Ah, working with SIL panels... always a challenge. I built an Indian GP200 up from a frame using SIL NOS and struggled with all of the panels, but a good tip I got from Jon at Urban Scooters in Birmingham helped me fit my side panels. He pointed out that a on a lot of SIL frames (including mine) the lip which holds the side panel on was too high and needed filing down for the panels to sit down far enough. Don't know if this will help on your frame but worth comparing to an Italian or Spanish frame if you can.
This lip here -
Anyway... back to me...
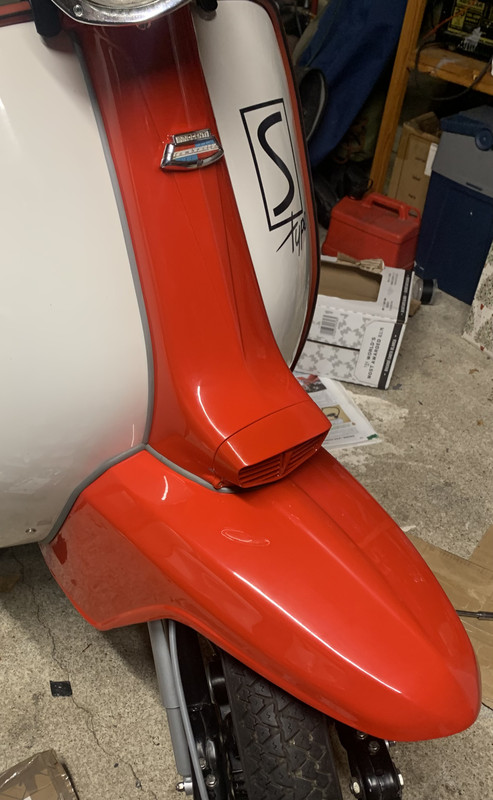
Thats an interesting point, will have a look at the coming weekend, thanks.


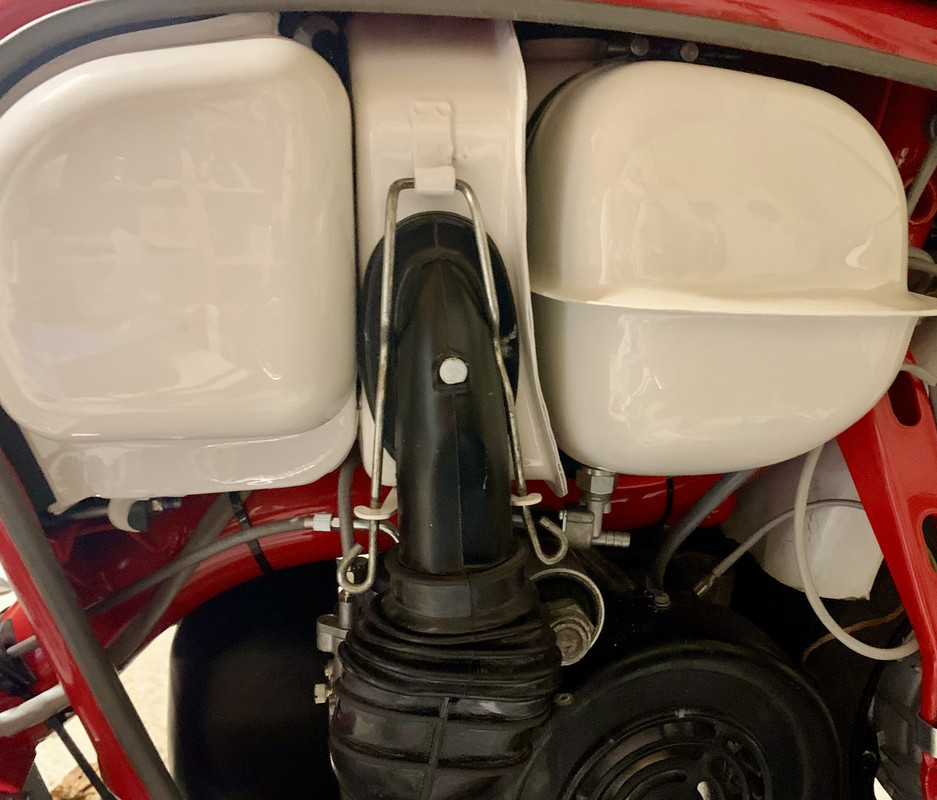
dickie wrote:I've always believed it was the elbow from the airbox that becomes the limiting factor once you've gutted the airbox, scoop etc. It's a toughy isn't it? Somehow the airbox seems part of the character of a lambretta but is so limiting at the same time. Someone must have the skills to come up with a complete, scoop, airbox, filter, elbow and bellows solution. The market seems to want it.
alex_hughes wrote:^
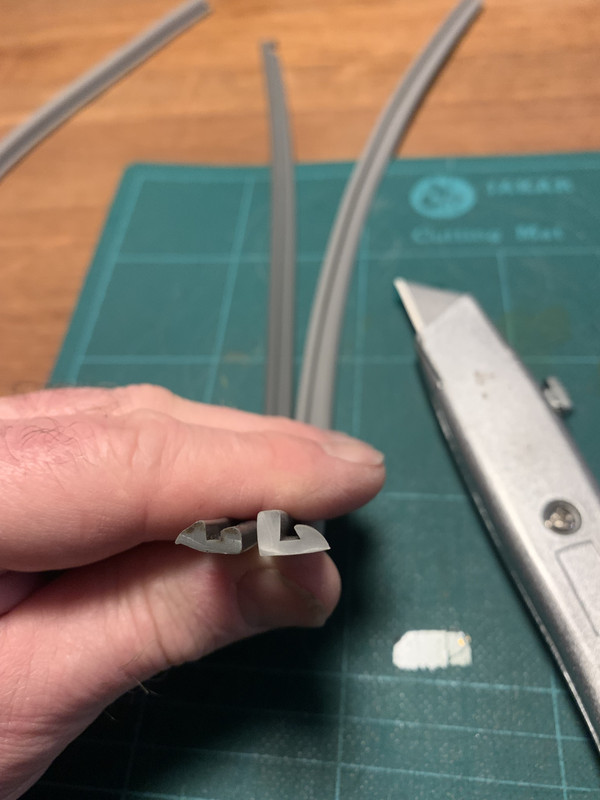
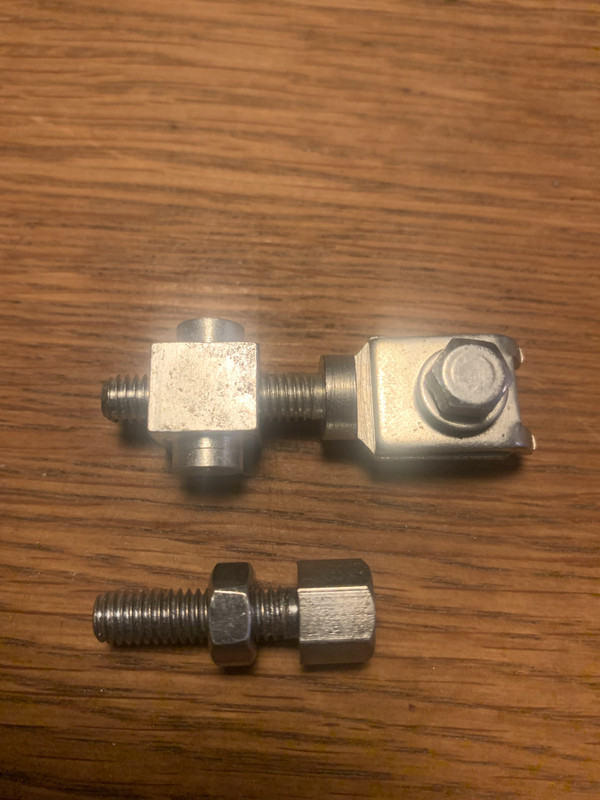
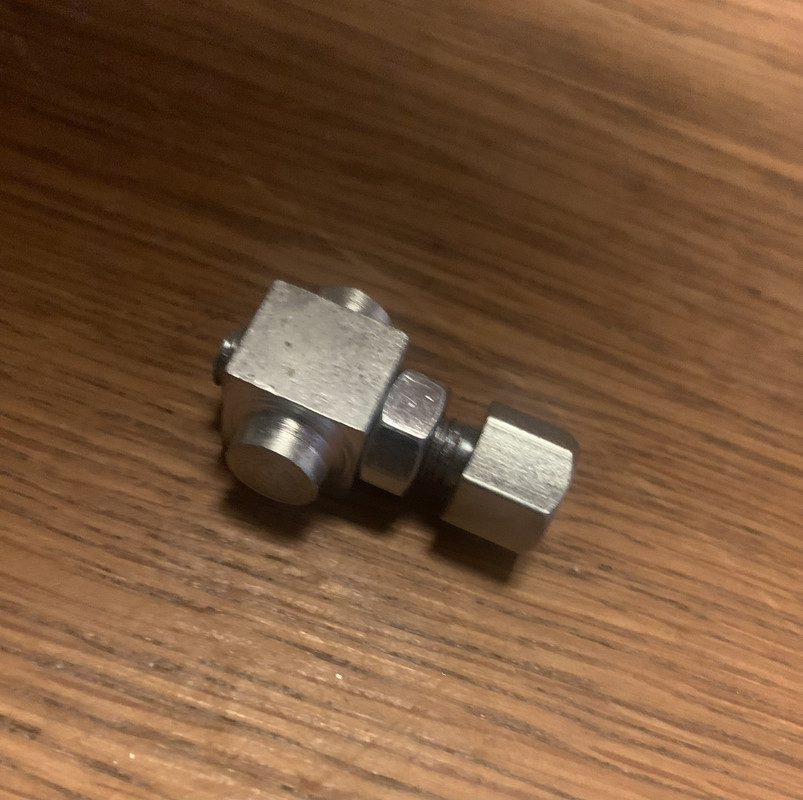
The other bit of archaeology is to do with the front brake cable. In the sixties manual of Performance Tuning and Conversions they describe how to use some quite odd parts to build an adjustable trunnion on the disc brake lever. With thanks to Bruce, here is a picture of one fitted...
it's the trunnion off an LD front brake and the cable adjuster off a J range.
A bit of poking about on the SR site and they have both!
so when I shorten the cable I'll be using them like this.
It's a nice touch and it builds in a bit of fine tuning on the cable length.