Re: Dodgy
Looking cool so far.
What are you thinking in terms of trick bits?
What are you thinking in terms of trick bits?
The ability to post messages is restricted to LCGB members. Any questions contact us at lcgbadmin@googlemail.com
http://www.ilambretta.co.uk/forum/
LateAgain wrote:Looking cool so far.
What are you thinking in terms of trick bits?


Watfordwhite wrote:What are you talking about Mark. You love my S2


bolzenanker wrote:Seven months! Jeez, where did that go!
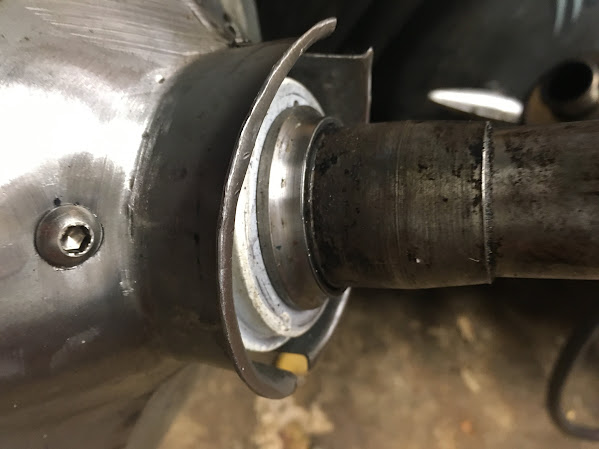
Fork link alteration to squeeze dampers into mudguard. Nothing seems to foul in operation, but if anyone can see a problem with this, then please shout out.
Warkton Tornado No.1 wrote:bolzenanker wrote:Seven months! Jeez, where did that go!
Fork link alteration to squeeze dampers into mudguard. Nothing seems to foul in operation, but if anyone can see a problem with this, then please shout out.
In principle, that should work, but you would be better to try & source/make better lower damper mount tubes & washers long term, so that the rubber element is better enclosed & make it look as nice as the rest of the project
However, I hope you don't mind me saying, but the washers you have on the axle MUST be of the OEM type which are specific to fit the link recess. If my memory serves, they are 22 mm diameter & will retain the axle in situ even if the nuts were to come loose. (I remember getting a race bike scrutineered by PJ many years ago & getting sent packing over that, but he was absolutely right......)