Evening all.
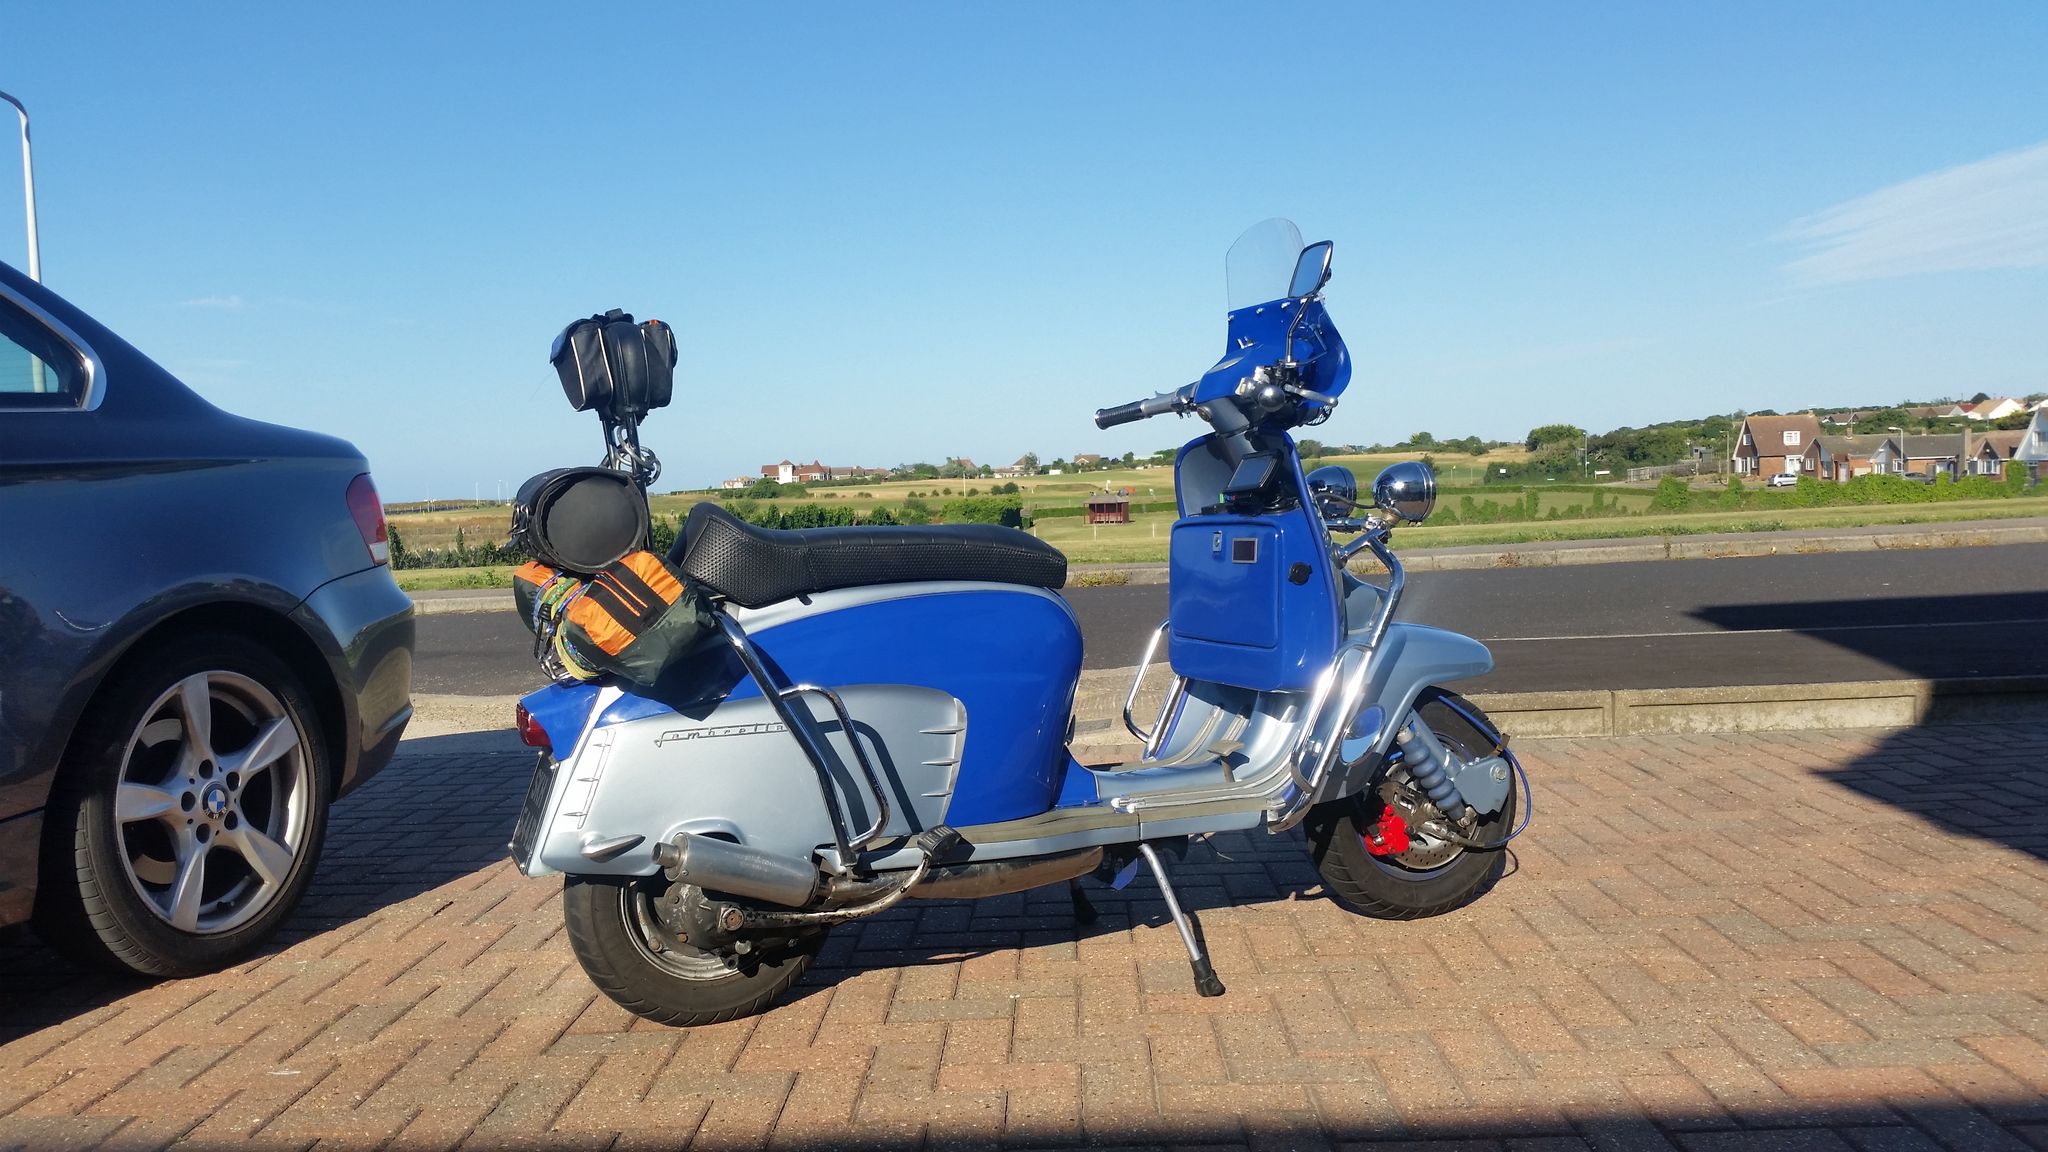
I'm going to fit a leg shield tool box to my GP. I have searched the forum but I am still none the wiser. If I put the box where people say the brackets are miles away from the holes. There are no instructions with it so I don't know what to do with the loose brackets, bolts and pop rivets. Pictures of work in progress would be nice. Any tips at all really.
Cheers
LCGB Forums
The ability to post messages is restricted to LCGB members. Any questions contact us at lcgbadmin@googlemail.com
Leg shield tool box.
6 posts
• Page 1 of 1
Leg shield tool box.
![]() by Cec DHSC » Wed Mar 08, 2017 10:36 pm
by Cec DHSC » Wed Mar 08, 2017 10:36 pm
- Cec DHSC
- Posts: 11
- Joined: Tue Jun 03, 2014 5:49 pm
Re: Leg shield tool box.
![]() by CHRIS in MARGATE » Wed Mar 08, 2017 11:22 pm
by CHRIS in MARGATE » Wed Mar 08, 2017 11:22 pm
Good luck !
You need to bolt 2 meccano type angle brackets through the legshields from behind the top of the horncasting. Lock them up very tight. If you bolt them first loosely to the toolbox brackets you will see where to drill through. Be careful because you can pop out on the outside of the horncasting gaskets so get your bearings first. You may have to bend the brackets to get the angle.
The.bottom brackets on the toolbox should fit where there are already bolts through the front mudguard.
Now you have to keep offering it up and scribing all the high points and take them off. Before you finally commit loosely fit with the toolbox rubber and when happy.pull it all up tight.
As I said at the beginning. Good luck !
-
CHRIS in MARGATE - Posts: 4080
- Joined: Fri May 30, 2014 5:49 pm
Re: Leg shield tool box.
![]() by corrado » Thu Mar 09, 2017 2:49 am
by corrado » Thu Mar 09, 2017 2:49 am
Here's what I supply with them ......
Legshield toolbox fitting.
I’ve fitted a few and this is how I’ve done them. I mask up the area where I'm going to fit the toolbox. Offer the toolbox up against the leggies, the higher the better but leave about 1/2 inch space at the side. Use a marker pen to trace around the toolbox that way you'll keep putting it back in the same position as you work on it. It's rare that they fit well out of the box so always need a bit of trimming to fit neatly. Wherever it touches is a high spot so remove a bit of material there. Do this from side to side and the gaps get less and less until you've got a neat fit all round. You just drill holes through your leggies for the 2 bottom brackets, the holes should be hidden under the mudguard. You just bolt straight through the welded lugs and through the legshields under the mudguard. At the top the idea is to rivet the two supplied brackets to the centre section of the leggies, again the holes should be out of sight behind the horncasting. If you've got the leggies off the scooter it may be easier to use small bolts, about 4mm rather than the rivets. If you fit it with the leggies in place then you need to use the rivets. I glue the rubber surround in place using contact adhesive, start at the centre at the bottom and work your way round, taping the rubber in place with masking tape until the glue sets. Obviously trim it to size and dry fit it before painting or glueing the rubber on. I've only ever needed to use files and the worst fitting one only took about 2 hours to get the shape right. Only remove small bits of material at any one time, don't resort to tin snips and cut bigger amounts off to try and speed things up. A bit like having a haircut, you can always trim a bit more off but you can't put it back.
-

corrado - Posts: 615
- Joined: Sun Jun 01, 2014 1:49 am
- Location: Blackpool
Re: Leg shield tool box.
![]() by Cec DHSC » Thu Mar 09, 2017 7:02 am
by Cec DHSC » Thu Mar 09, 2017 7:02 am
Thanks chaps. That's pretty comprehensive.
Much appreciated
Much appreciated
- Cec DHSC
- Posts: 11
- Joined: Tue Jun 03, 2014 5:49 pm
Re: Leg shield tool box.
![]() by P D: SC Chester » Thu Mar 09, 2017 8:28 pm
by P D: SC Chester » Thu Mar 09, 2017 8:28 pm
Cec DHSC wrote:Evening all.
I'm going to fit a leg shield tool box to my GP. I have searched the forum but I am still none the wiser. If I put the box where people say the brackets are miles away from the holes. There are no instructions with it so I don't know what to do with the loose brackets, bolts and pop rivets. Pictures of work in progress would be nice. Any tips at all really.
Cheers
I've just made one, used a PX standard one and cut to fit.
It's a bit of messing around, but if you use cardboard as a guide for the curve on the legsheild at the sides and top. And cut a bit at a time, it works out well. I used leg sheild rubber around the edges.
As I wanted dials and guages , I used fibre glass on the top to cover the rough metal ovals cut out with a hole saw on a drill.
-

P D: SC Chester - Posts: 165
- Joined: Fri Dec 09, 2016 1:13 pm
- Location: The Peoples Republic of North Chester
Re: Leg shield tool box.
![]() by corrado » Sat Mar 11, 2017 2:56 am
by corrado » Sat Mar 11, 2017 2:56 am
Cec DHSC wrote: That's pretty comprehensive.
I keep it on file and copy & paste it these days. I must do another one with regards to plug chops.
-
corrado - Posts: 615
- Joined: Sun Jun 01, 2014 1:49 am
- Location: Blackpool
6 posts
• Page 1 of 1
Who is online
Users browsing this forum: No registered users and 48 guests