The wago connectors are working really well, they lock very tight. As usual I took a belt and brace approach and tinned all the cables with solder to prevent the cable oxidising before installing the wagos.
I just remade some connections for the stator that I didn't get round to tinning last night, the joints from the stator to the Wassel regulator, they were still clamped very tight even though I did not solder them at the time.
Wago lever connectors are a good bit of kit, but obviously not to original spec, if that's your thing. And they can be opened and closed over and over again without affecting their functionality.
LCGB Forums
The ability to post messages is restricted to LCGB members. Any questions contact us at lcgbadmin@googlemail.com
Jockey Boxtenstop Headlight
70 posts
• Page 2 of 4 • 1, 2, 3, 4
Re: Jockey Boxtenstop Headlight
![]() by Nelly » Fri Mar 13, 2015 11:07 pm
by Nelly » Fri Mar 13, 2015 11:07 pm
-
Nelly - Posts: 737
- Joined: Wed Dec 17, 2014 5:18 pm
- Location: Darlington
Re: Jockey Boxtenstop Headlight
![]() by coaster » Fri Mar 13, 2015 11:59 pm
by coaster » Fri Mar 13, 2015 11:59 pm
I used the Wago connectors too and agree, they are great, I'll get some pictures on tomorrow.
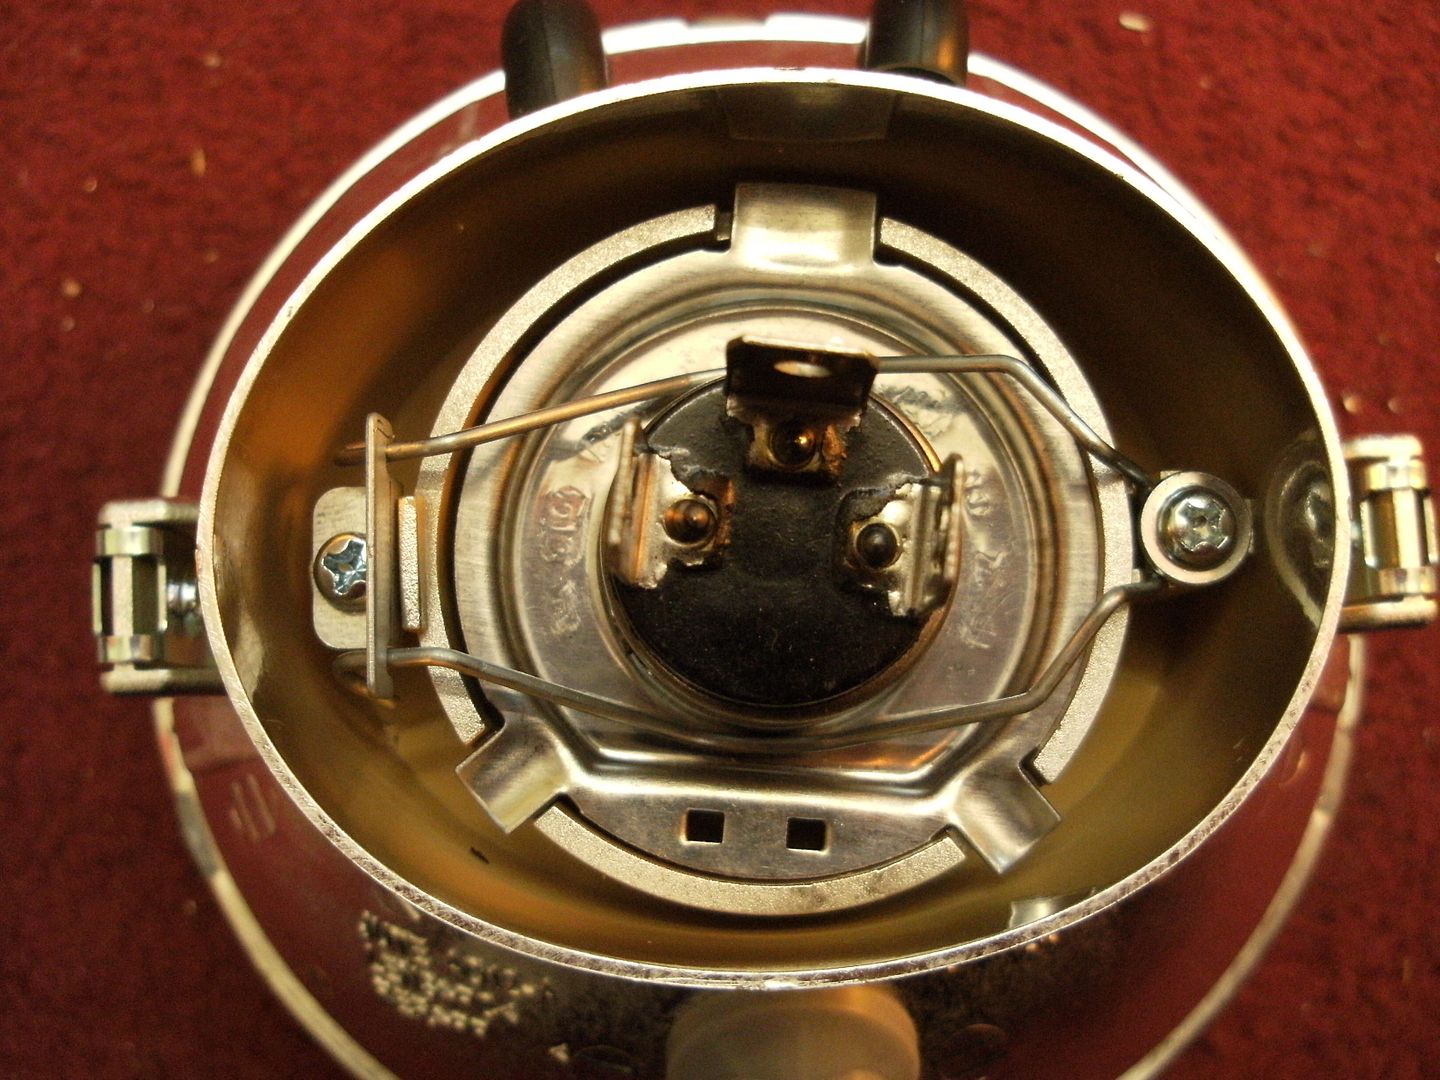
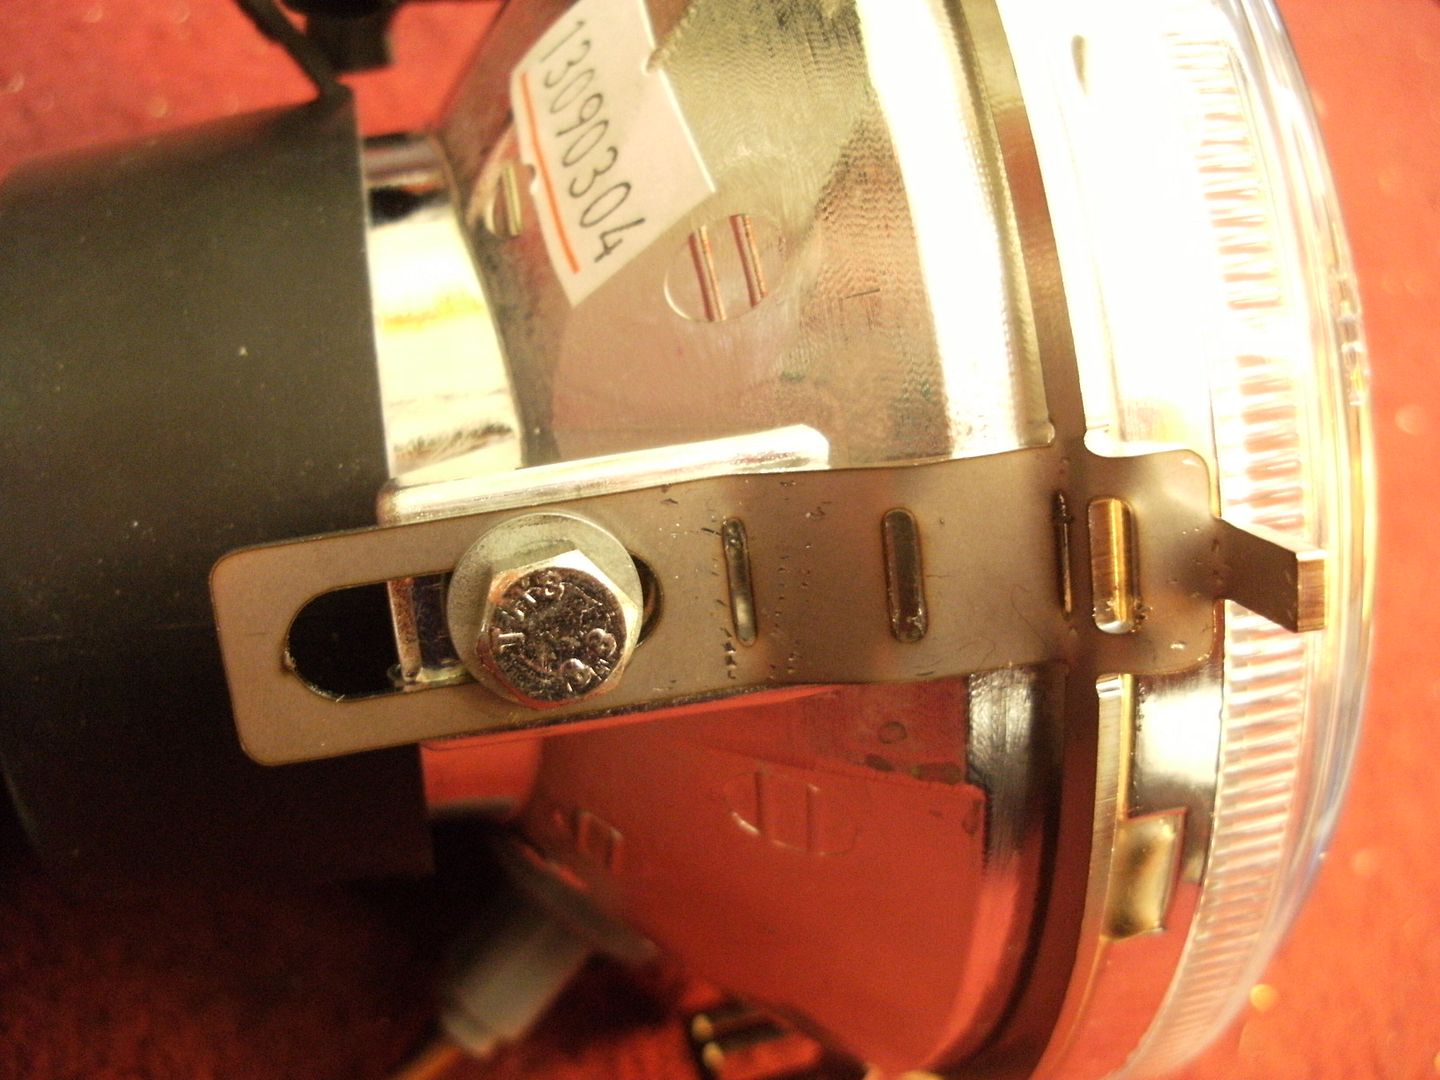
Monty, the Jet fitting is slightly different as it uses the side mounting and bottom mounting screw and TBH is a pain in the arse fiddly job. I also bought one for my LiS which appears to fit a lot easier, I'm not ready to fit it to the LiS yet but I'll see if I can get some pics sorted tomorrow
Monty, the Jet fitting is slightly different as it uses the side mounting and bottom mounting screw and TBH is a pain in the arse fiddly job. I also bought one for my LiS which appears to fit a lot easier, I'm not ready to fit it to the LiS yet but I'll see if I can get some pics sorted tomorrow
-

coaster - Posts: 2716
- Joined: Fri May 30, 2014 1:00 pm
- Location: Norfolk, Flying 8 Balls
Re: Jockey Boxtenstop Headlight
![]() by lammydave » Sat Mar 14, 2015 7:59 am
by lammydave » Sat Mar 14, 2015 7:59 am
coaster wrote:I used the Wago connectors too and agree, they are great, I'll get some pictures on tomorrow.
Monty, the Jet fitting is slightly different as it uses the side mounting and bottom mounting screw and TBH is a pain in the arse fiddly job. I also bought one for my LiS which appears to fit a lot easier, I'm not ready to fit it to the LiS yet but I'll see if I can get some pics sorted tomorrow
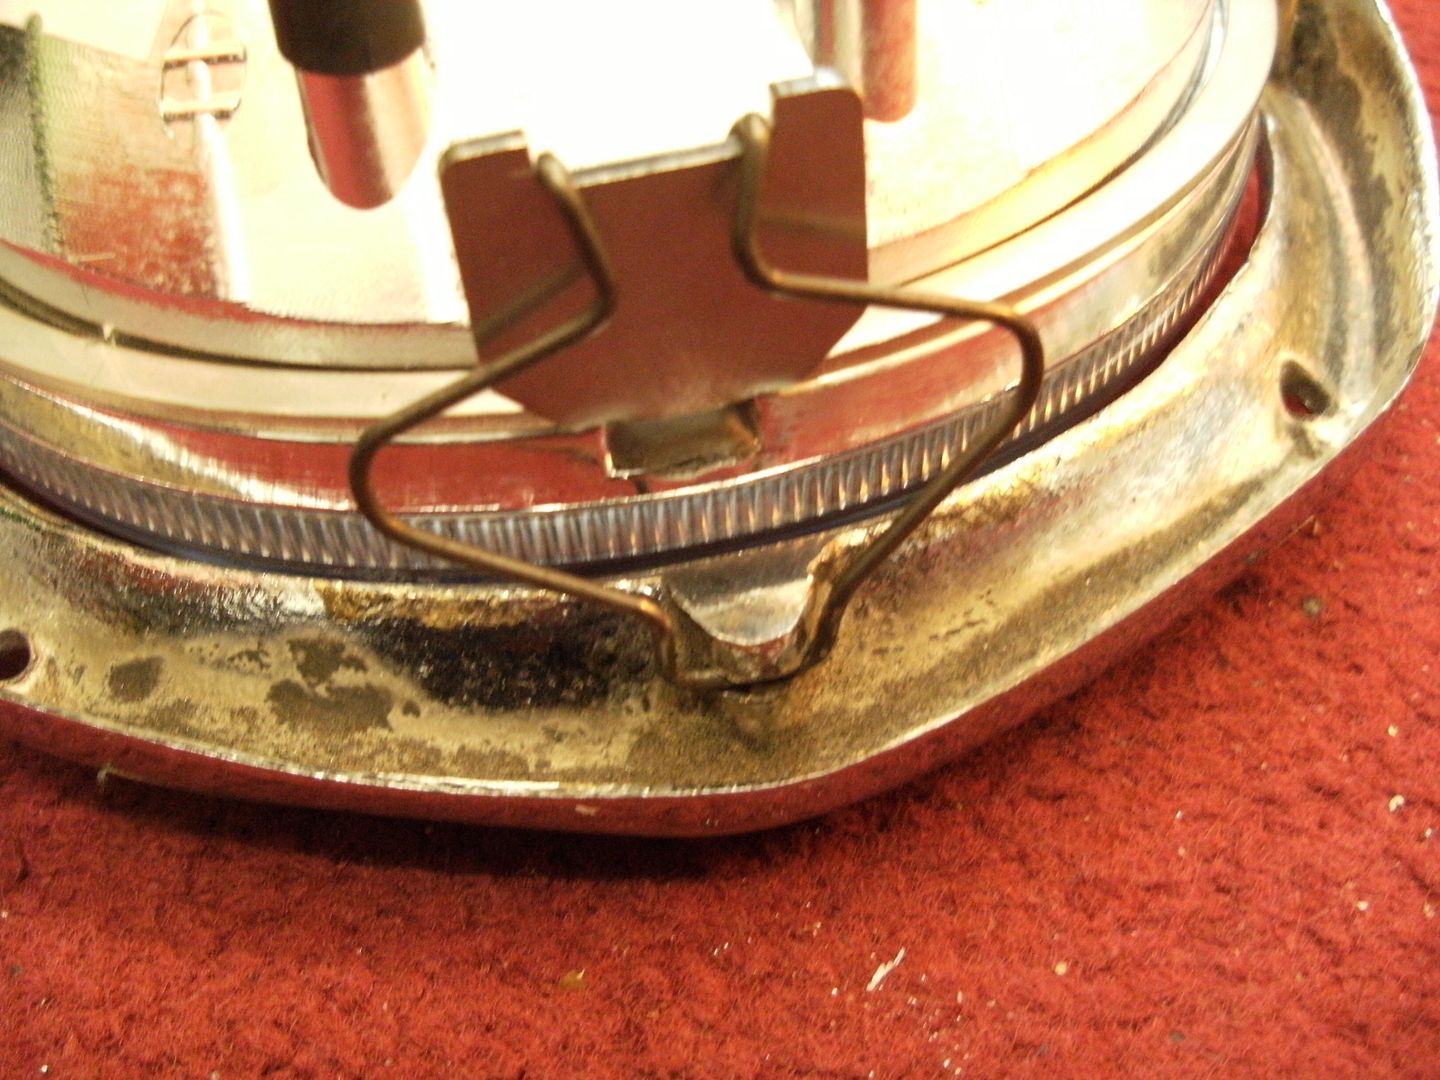
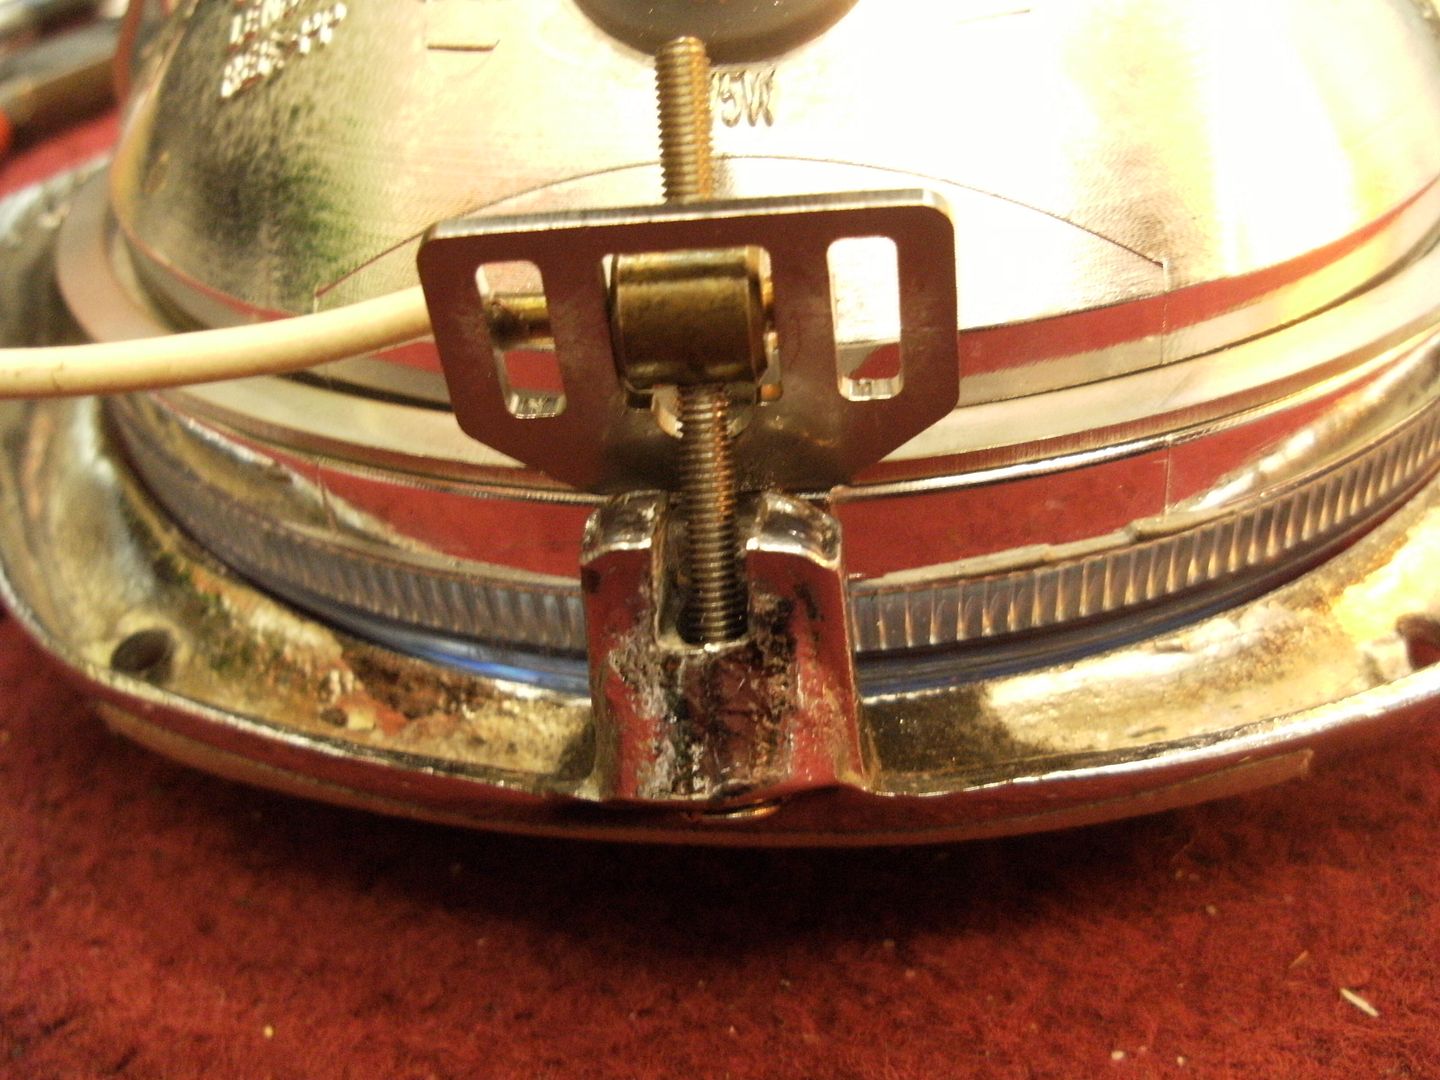
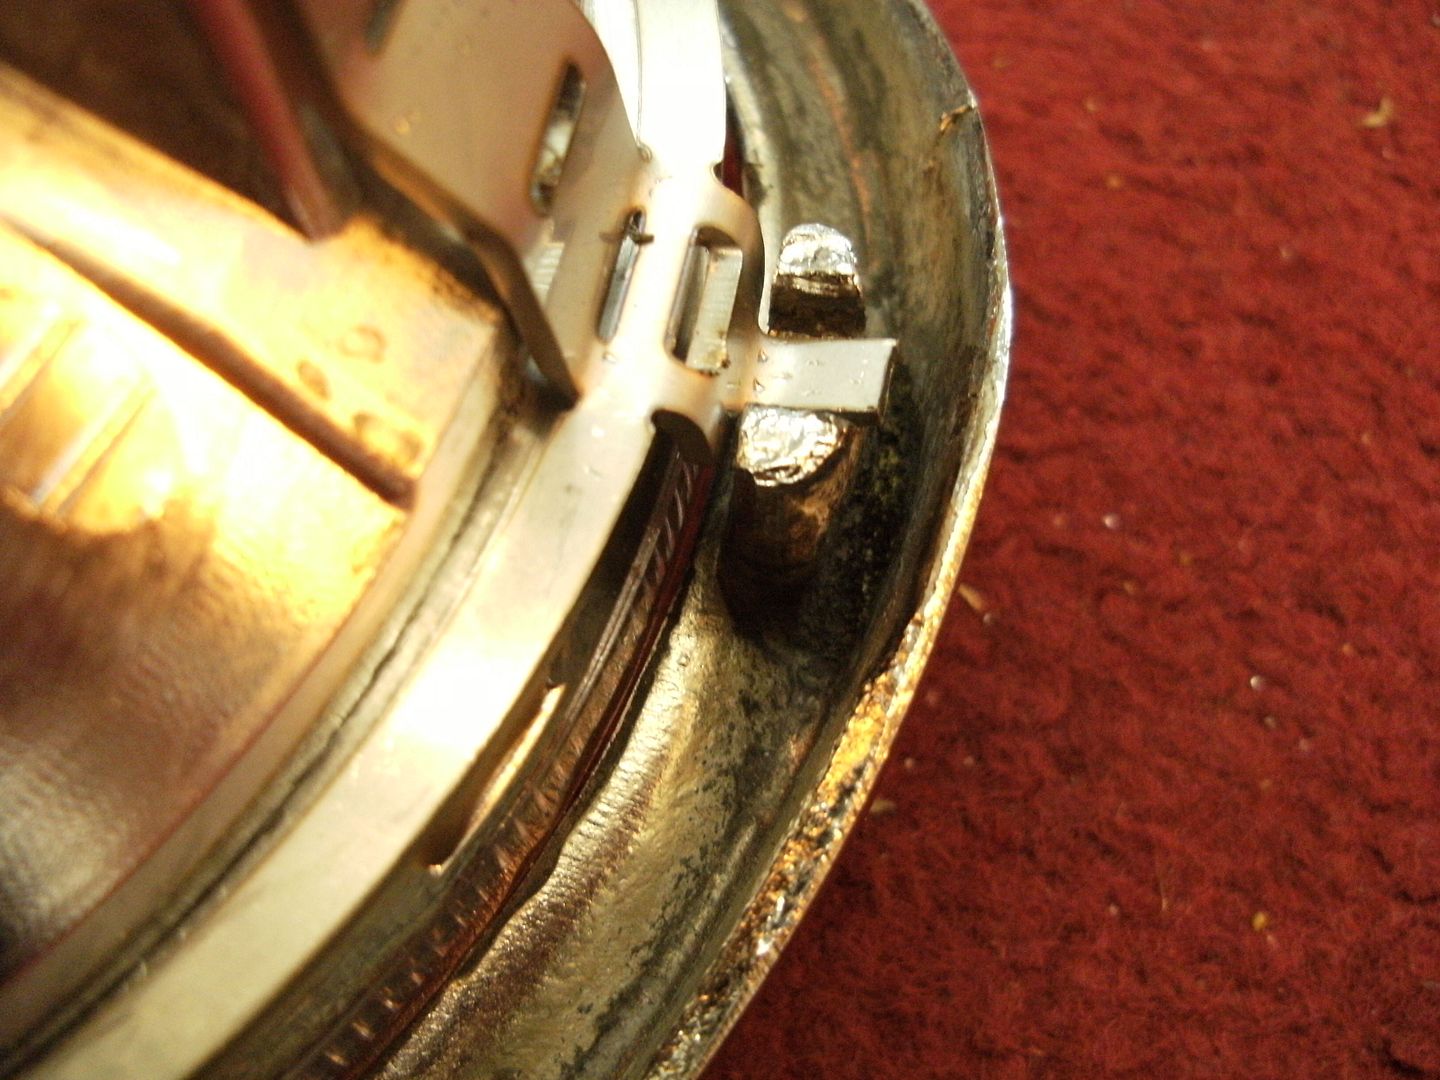
Agreed about the 3 screws on the Jet headlight... a real pain.....
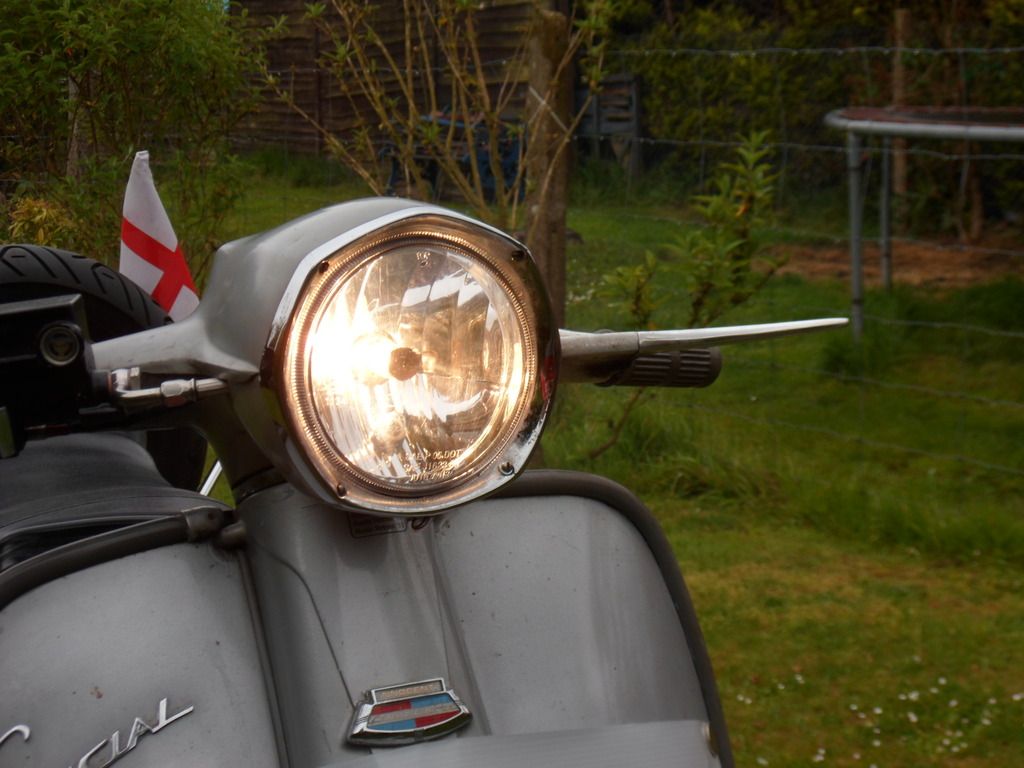
however, the light is really good and worth the effort... I also fitted one to my 150 special with the standard rim fitting...much easier...anyway, here are some pix of my wired up Jet....


-

lammydave - Posts: 232
- Joined: Sat May 31, 2014 6:09 am
- Location: in the shed
Re: Jockey Boxtenstop Headlight
![]() by Cgt75b » Sat Mar 14, 2015 9:23 am
by Cgt75b » Sat Mar 14, 2015 9:23 am
Wago connectors is the way to go ! I'm on to it.
Thanks for the help.
Thanks for the help.
- Cgt75b
- Posts: 502
- Joined: Mon Jul 28, 2014 9:42 pm
- Location: Cheshire
Re: Jockey Boxtenstop Headlight
![]() by MK Monty » Sat Mar 14, 2015 10:07 am
by MK Monty » Sat Mar 14, 2015 10:07 am
Great Lamydave. The pictures explain it all. I was looking at how to modify the ring to fit the existing rim. I presume you fit the JB then use the rim as front trim. Great. Got some wago's on the way they look a good job.
-

MK Monty - Posts: 340
- Joined: Sun Jun 01, 2014 10:32 pm
- Location: Stockport
Re: Jockey Boxtenstop Headlight
![]() by lammydave » Sat Mar 14, 2015 12:37 pm
by lammydave » Sat Mar 14, 2015 12:37 pm
MK Monty wrote:Great Lamydave. The pictures explain it all. I was looking at how to modify the ring to fit the existing rim. I presume you fit the JB then use the rim as front trim. Great. Got some wago's on the way they look a good job.
Yup... rim goes on last and keeps it all in place, make sure you push the headlight back as far as it'll go or it protrudes from the rim and looks daft...
great conversion though and the beam is a major improvement....
-
lammydave - Posts: 232
- Joined: Sat May 31, 2014 6:09 am
- Location: in the shed
Re: Jockey Boxtenstop Headlight
![]() by lammydave » Sat Mar 14, 2015 12:43 pm
by lammydave » Sat Mar 14, 2015 12:43 pm
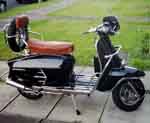
The pacemaker doesn't look too bad with one on either....
and she took me to Brittany and back last year...

and she took me to Brittany and back last year...

-
lammydave - Posts: 232
- Joined: Sat May 31, 2014 6:09 am
- Location: in the shed
Re: Jockey Boxtenstop Headlight
![]() by MK Monty » Sat Mar 14, 2015 4:04 pm
by MK Monty » Sat Mar 14, 2015 4:04 pm
Dave
The 2nd Pic showing the JB fitted, did the unit come with the fittings that go out to the sides of the head set or is that something you have made. When I did my series 1 all I got was the lasercut ring with the tabs that went back to the side of the lamp. Thats why I was struggling getting my head around fitting it to a special headset
The 2nd Pic showing the JB fitted, did the unit come with the fittings that go out to the sides of the head set or is that something you have made. When I did my series 1 all I got was the lasercut ring with the tabs that went back to the side of the lamp. Thats why I was struggling getting my head around fitting it to a special headset
-
MK Monty - Posts: 340
- Joined: Sun Jun 01, 2014 10:32 pm
- Location: Stockport
Re: Jockey Boxtenstop Headlight
![]() by coaster » Sun Mar 15, 2015 2:19 am
by coaster » Sun Mar 15, 2015 2:19 am
MK Monty wrote:Dave
The 2nd Pic showing the JB fitted, did the unit come with the fittings that go out to the sides of the head set or is that something you have made. When I did my series 1 all I got was the lasercut ring with the tabs that went back to the side of the lamp. Thats why I was struggling getting my head around fitting it to a special headset
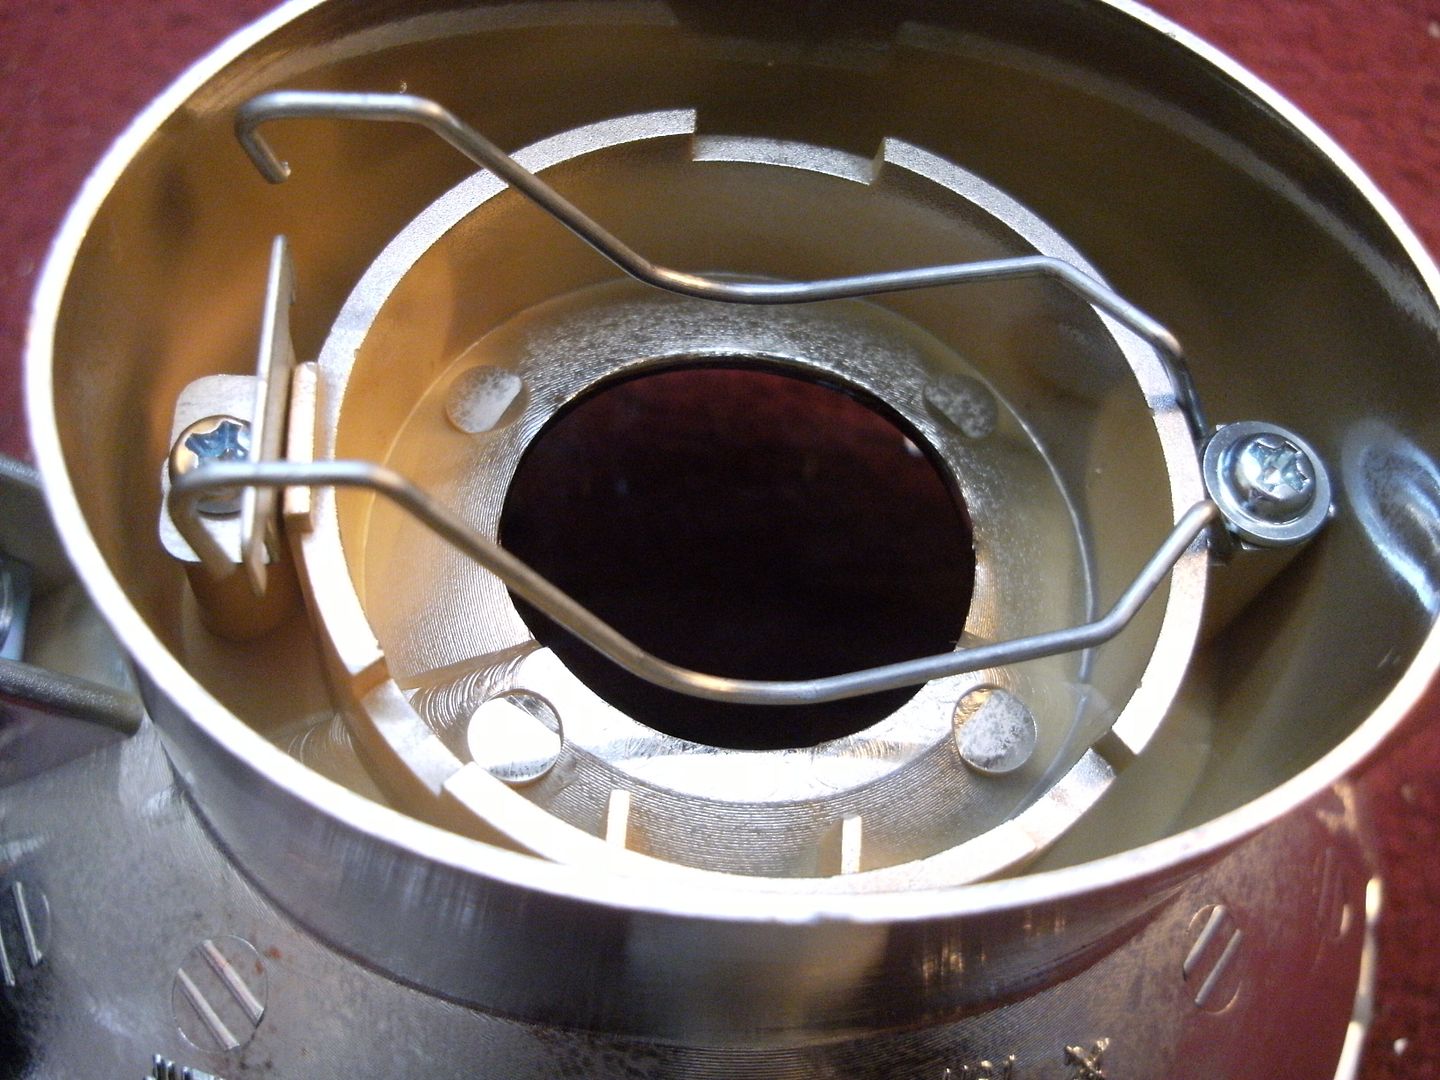
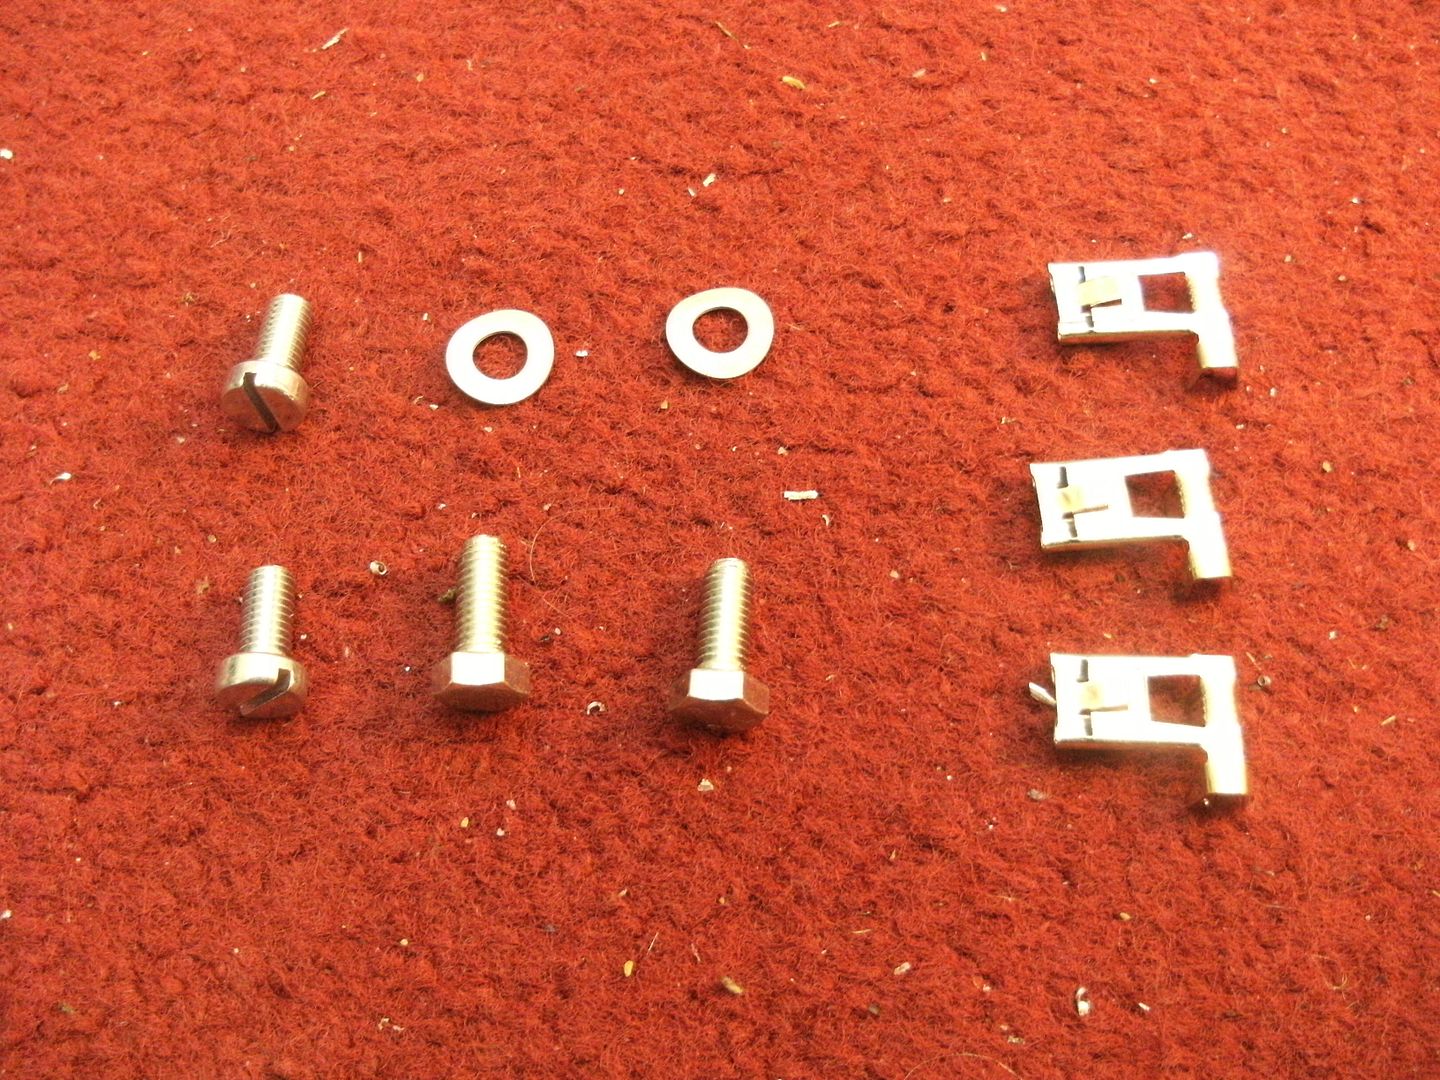
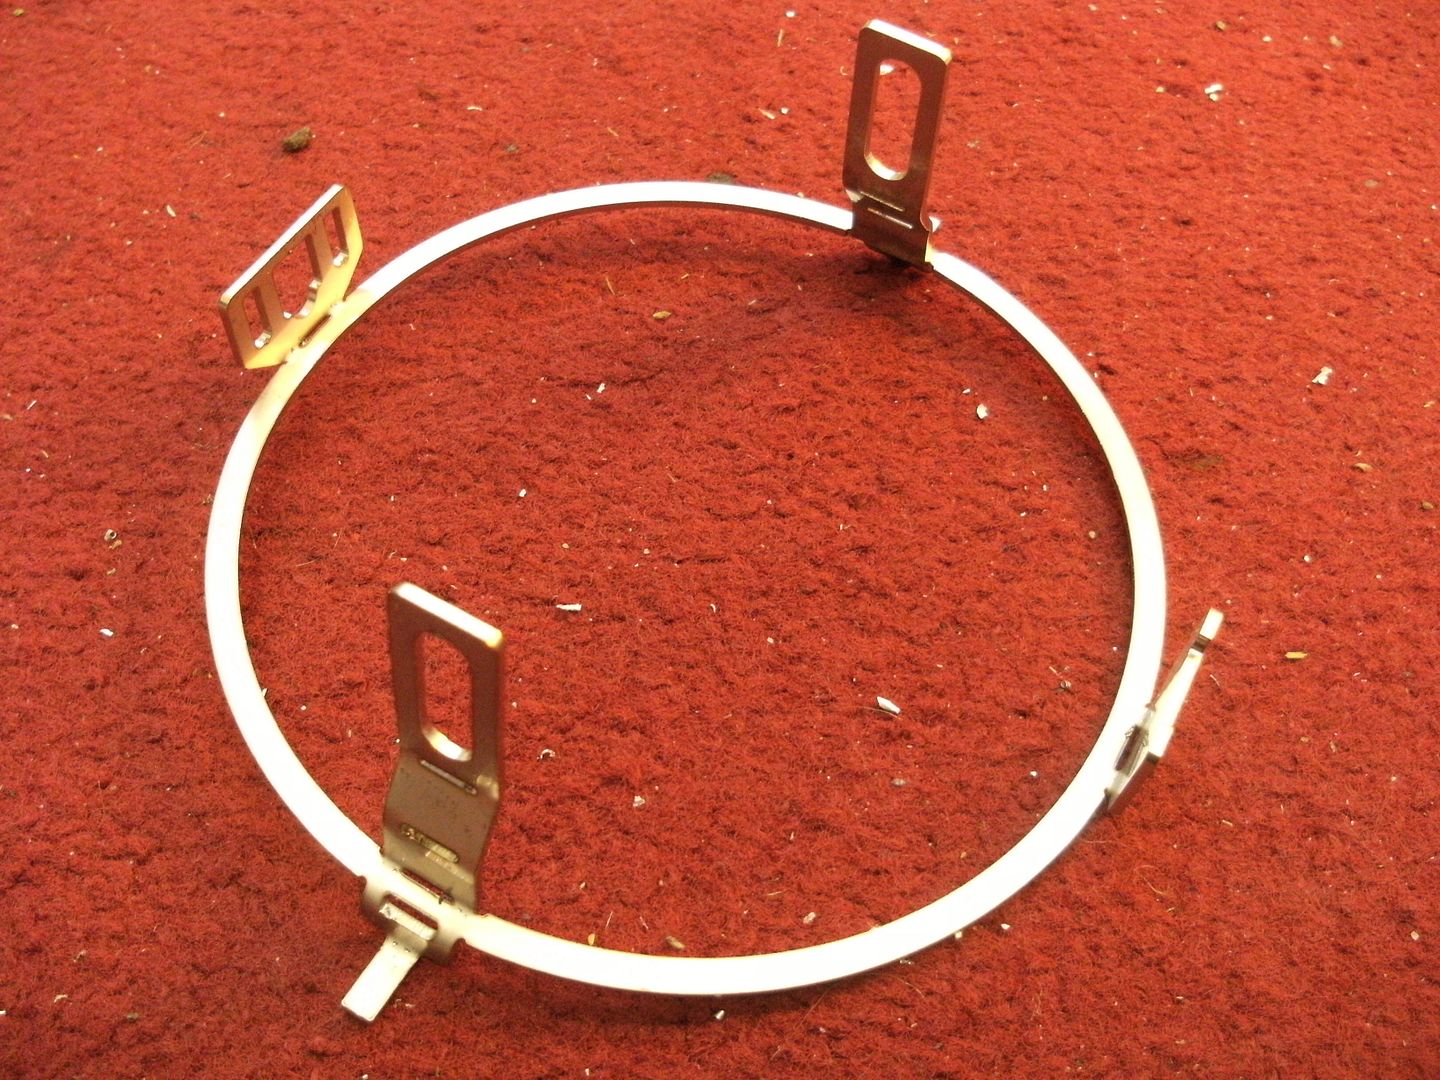
Monty, the laser cut rim for the Special/SX/TV is slightly different and doesn't have those outer arms for securing to the bolt holes in the sides (also on at the bottom). I didn't have those as my Jet previously had a Special type reflector. A set of 3 10mm screws, captive nuts, spacers and washers was nearly £20 from SIP
Managed to wire the HID unit in today, not properly secured of adjusted yet but the light out put looks really good:
Dipped

Full beam

The HID unit is only 35 watts and the light output is conciderably better than the 55/60 Osram Nightbreaker that I ran previously in an H4 conversion. The HID I'm using btw was £4.99 direct from China
PS, that is just off the battery which was showing 11.5 volts with the lights on, I expect it might be a bit brighter with the engine running.
-
coaster - Posts: 2716
- Joined: Fri May 30, 2014 1:00 pm
- Location: Norfolk, Flying 8 Balls
Re: Jockey Boxtenstop Headlight
![]() by Donnie » Sun Mar 15, 2015 11:11 am
by Donnie » Sun Mar 15, 2015 11:11 am
On my series two I simply removed the terminal block and re wired using proper male/female bullet connectors.
-

Donnie - Posts: 1120
- Joined: Fri May 30, 2014 8:19 pm
- Location: Kempston, UK
Re: Jockey Boxtenstop Headlight
![]() by Nelly » Sun Mar 15, 2015 11:24 am
by Nelly » Sun Mar 15, 2015 11:24 am
Coaster,
Is there some control gear to hide away somewhere for HID conversion you have fitted?
Looks a very good light, I was considering getting a HID conversion for my GTS, hadn't considered installing one for the Lammy due to the associated control gear to hide somewhere.
Is there some control gear to hide away somewhere for HID conversion you have fitted?
Looks a very good light, I was considering getting a HID conversion for my GTS, hadn't considered installing one for the Lammy due to the associated control gear to hide somewhere.
-
Nelly - Posts: 737
- Joined: Wed Dec 17, 2014 5:18 pm
- Location: Darlington
Re: Jockey Boxtenstop Headlight
![]() by coaster » Sun Mar 15, 2015 12:10 pm
by coaster » Sun Mar 15, 2015 12:10 pm
Nelly wrote:Coaster,
Is there some control gear to hide away somewhere for HID conversion you have fitted?
Looks a very good light, I was considering getting a HID conversion for my GTS, hadn't considered installing one for the Lammy due to the associated control gear to hide somewhere.
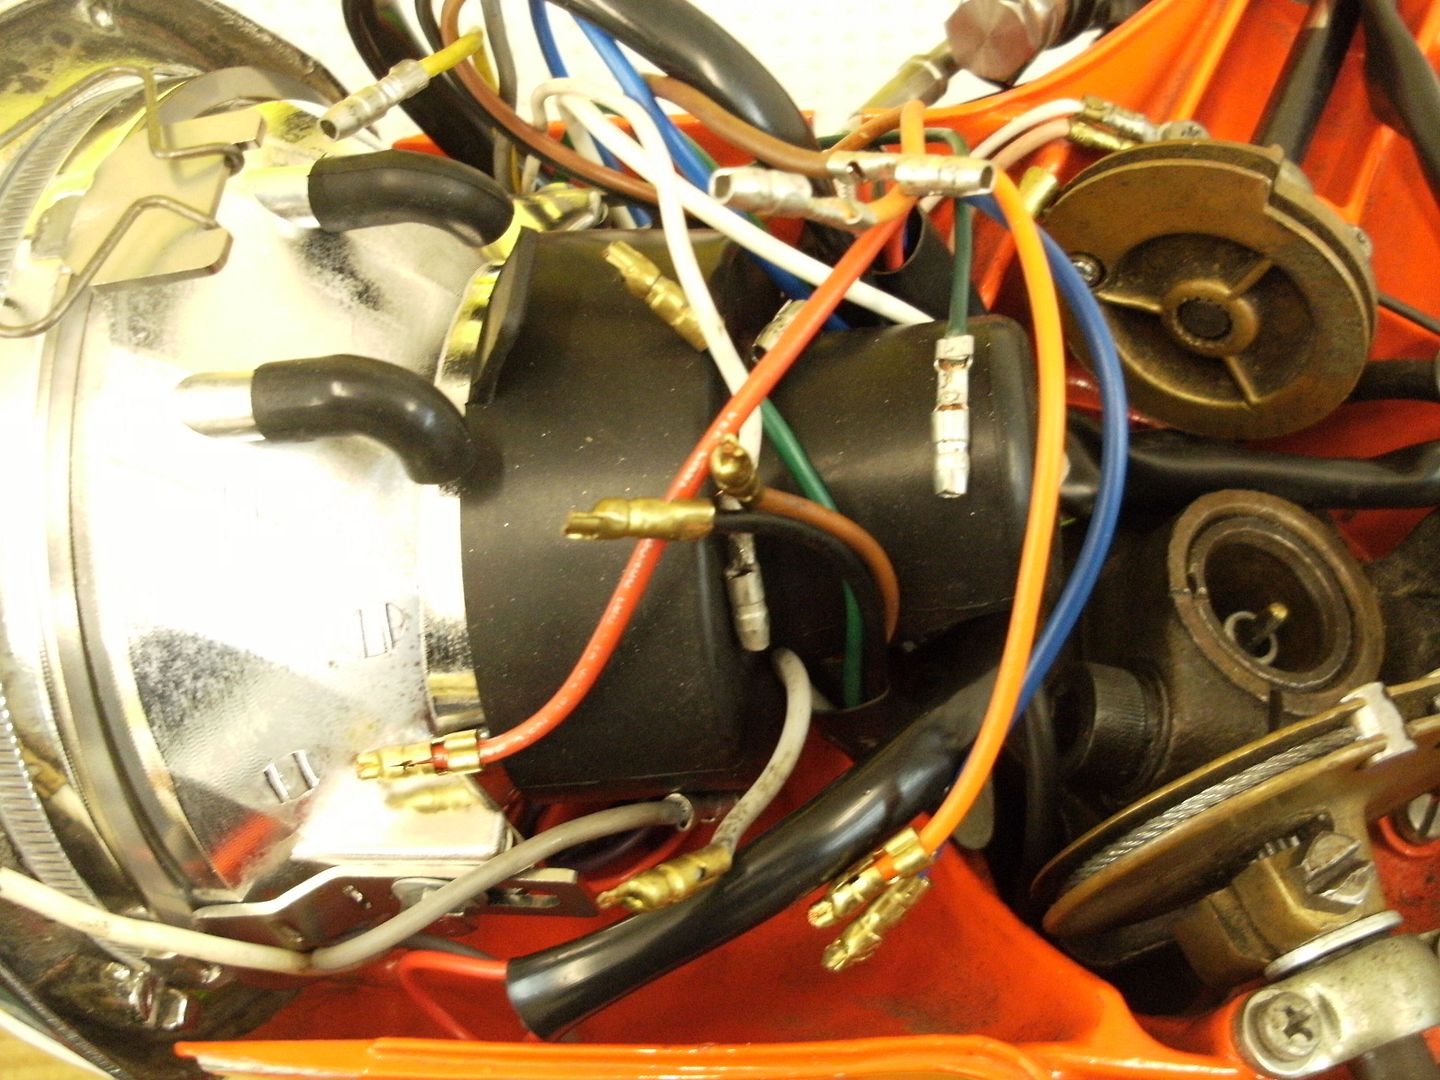
The control box or 'Ballast' is very small, mine isn't the smallest, a bit smaller than a cigarette packet and it just fits in behind the jet horn cast where the horn would normally bolt on (I have alpine type horns under the leggies). You will need to convert to full DC though.
-
coaster - Posts: 2716
- Joined: Fri May 30, 2014 1:00 pm
- Location: Norfolk, Flying 8 Balls
Re: Jockey Boxtenstop Headlight
![]() by Nelly » Sun Mar 15, 2015 2:06 pm
by Nelly » Sun Mar 15, 2015 2:06 pm
Any Chance of posting a link for where you got it from?
Cheers....
Cheers....
-
Nelly - Posts: 737
- Joined: Wed Dec 17, 2014 5:18 pm
- Location: Darlington
Re: Jockey Boxtenstop Headlight
![]() by peejay » Sun Mar 15, 2015 4:24 pm
by peejay » Sun Mar 15, 2015 4:24 pm
hi guys
fitted this kit to my Pacemaker last year

the swivel points for the headlight adjustment were too long
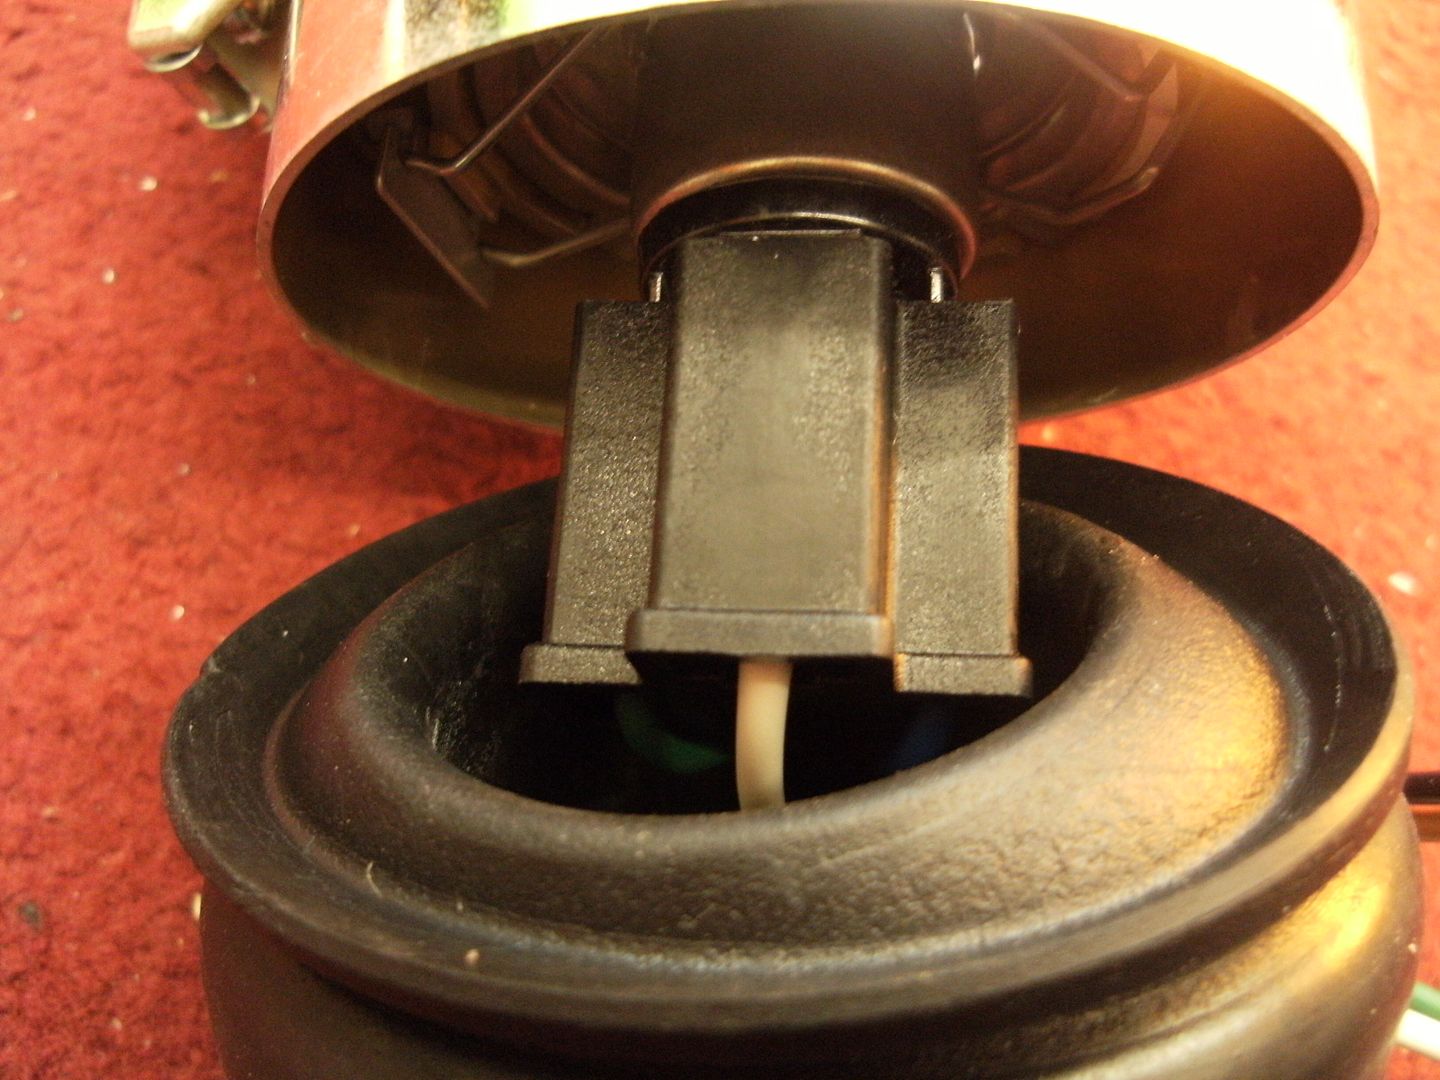
it is very cosy in there now and you do have to loose the original connector block
bit fiddly to install but worth the grief
this is on a standard 12v electronic set up.
before
after

not ridden in anger in the dark yet but certainly shines a long way up the road outside my house
fitted this kit to my Pacemaker last year


the swivel points for the headlight adjustment were too long

it is very cosy in there now and you do have to loose the original connector block
bit fiddly to install but worth the grief
this is on a standard 12v electronic set up.
before

after

not ridden in anger in the dark yet but certainly shines a long way up the road outside my house
- peejay
- Posts: 743
- Joined: Mon Jun 09, 2014 9:07 am
- Location: New Forest, Hants.
Re: Jockey Boxtenstop Headlight
![]() by coaster » Sun Mar 15, 2015 4:47 pm
by coaster » Sun Mar 15, 2015 4:47 pm
Nelly wrote:Any Chance of posting a link for where you got it from?
Cheers....
Here you go
http://www.ebay.co.uk/itm/300998659604? ... EBIDX%3AIT
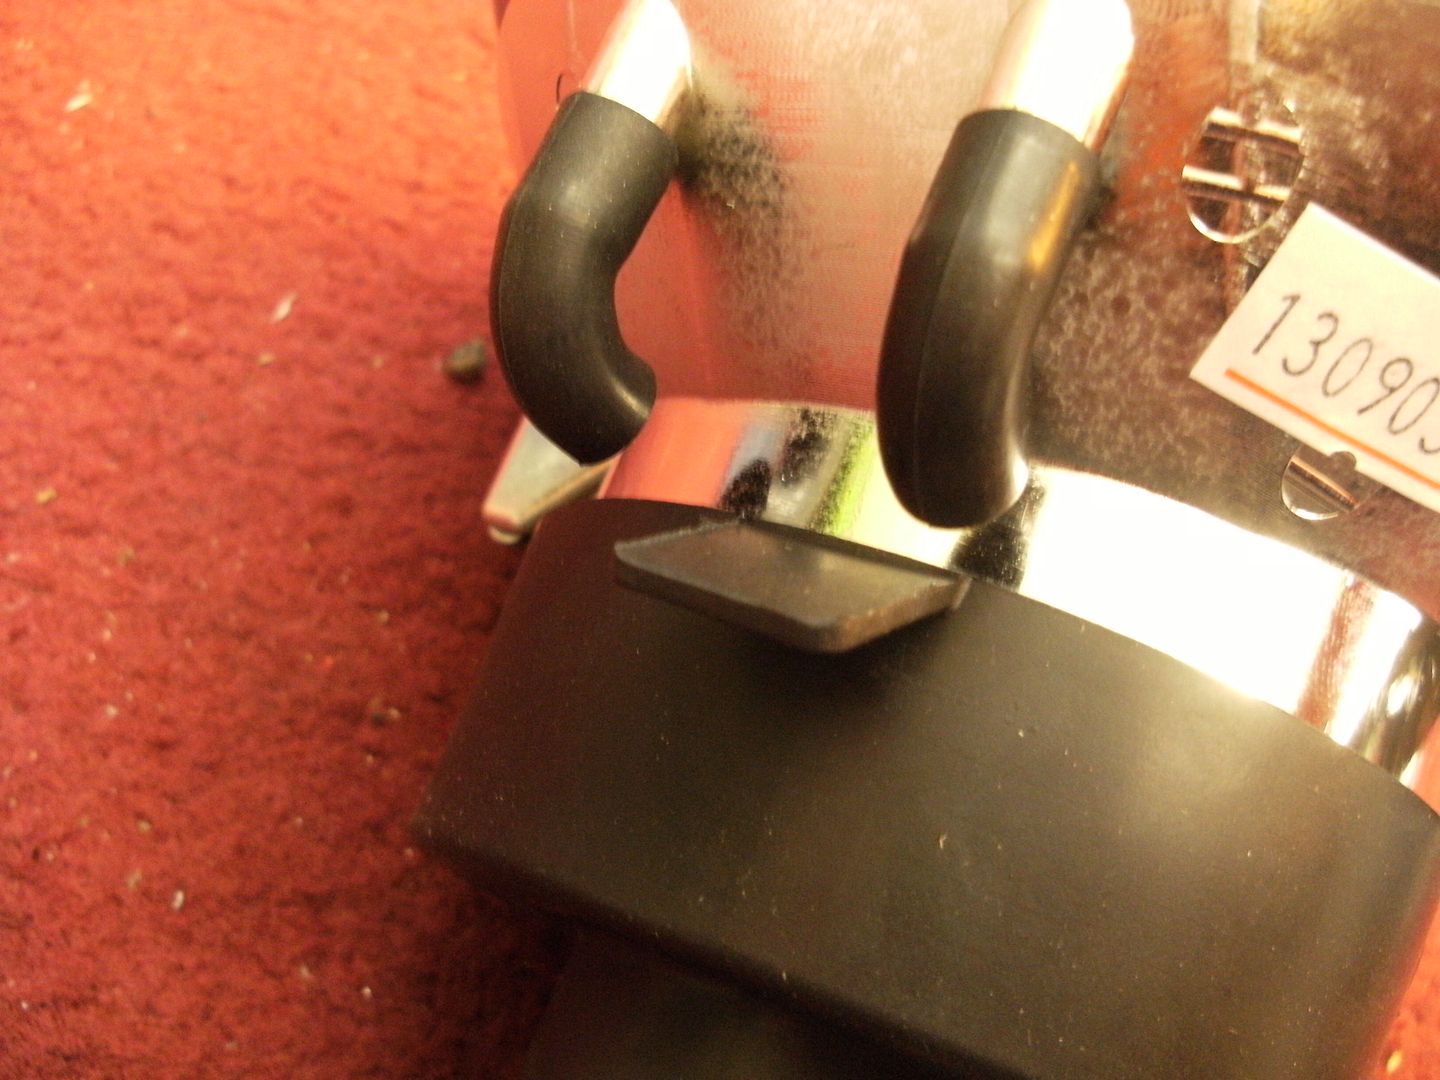
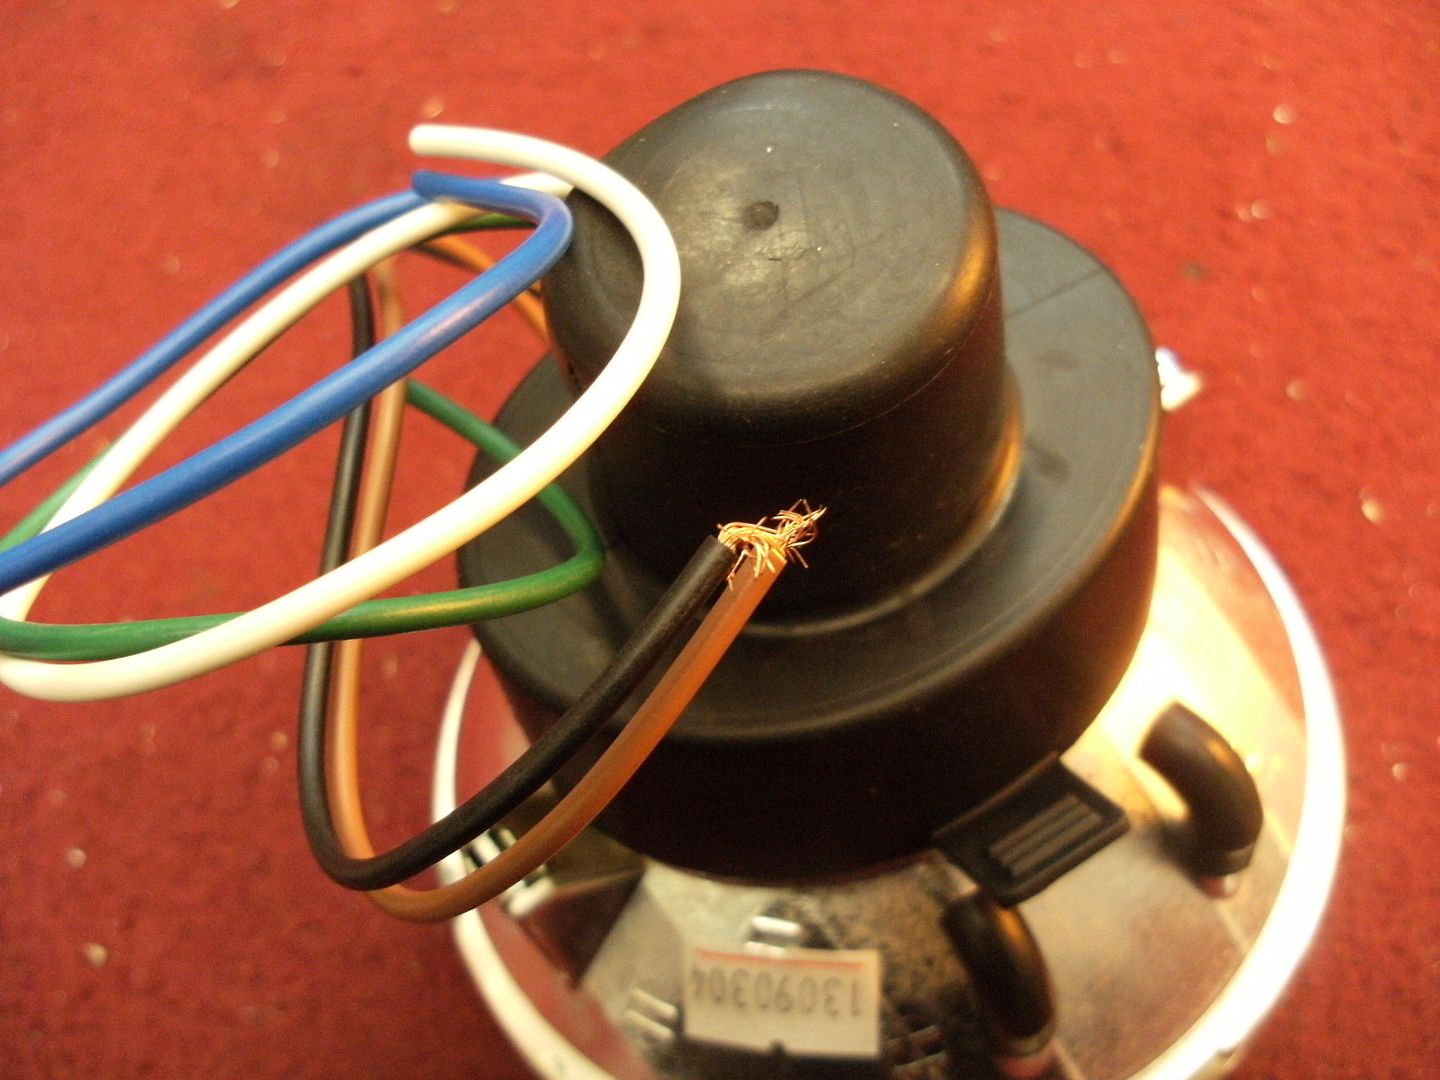
Here's some pictures of what you get and how I mounted the ballast after extending the wires, excuse the screw terminal block, I couldn't think of a better way that would allow easy removal:


-
coaster - Posts: 2716
- Joined: Fri May 30, 2014 1:00 pm
- Location: Norfolk, Flying 8 Balls
Re: Jockey Boxtenstop Headlight
![]() by Nelly » Sun Mar 15, 2015 7:37 pm
by Nelly » Sun Mar 15, 2015 7:37 pm
Cheers Colin,
That would appear to be quite a bargain.
That would appear to be quite a bargain.
-
Nelly - Posts: 737
- Joined: Wed Dec 17, 2014 5:18 pm
- Location: Darlington
Re: Jockey Boxtenstop Headlight
![]() by coaster » Mon Mar 16, 2015 9:15 am
by coaster » Mon Mar 16, 2015 9:15 am
Just a slight cautionary note, apparently extending the ignitor wire (the red on its own in the pics above) is not straight forward as it carries over 20,000 volts and requires suitably insulated wire and connections. Pre-made extension cables are available but would be way to long. That said, I only use normal vehicle wire, soldered heat shrunk joints and an electrical screw connector block.....no sparking or arcing yet but maybe damp conditions will affect it in the same way that the engine ignition can be?
-
coaster - Posts: 2716
- Joined: Fri May 30, 2014 1:00 pm
- Location: Norfolk, Flying 8 Balls
Re: Jockey Boxtenstop Headlight
![]() by Nelly » Mon Mar 16, 2015 10:48 am
by Nelly » Mon Mar 16, 2015 10:48 am
I would have expected that cable would look like a thin version of a HT lead? I come across this sort of stuff inside boilers for the ignition circuits. If crap wire is used instead you can experience all sorts of ignition problems.
I did think this when I saw the pic with the special connector for the ignition wire.
Cheers.
I did think this when I saw the pic with the special connector for the ignition wire.
Cheers.
-
Nelly - Posts: 737
- Joined: Wed Dec 17, 2014 5:18 pm
- Location: Darlington
Re: Jockey Boxtenstop Headlight
![]() by coaster » Mon Mar 16, 2015 12:36 pm
by coaster » Mon Mar 16, 2015 12:36 pm
Nelly wrote:I would have expected that cable would look like a thin version of a HT lead? I come across this sort of stuff inside boilers for the ignition circuits. If crap wire is used instead you can experience all sorts of ignition problems.
I did think this when I saw the pic with the special connector for the ignition wire.
Cheers.
Yes, it is double insulated but nothing like as the diameter of an HT lead. I think I might buy an extension lead and cannibalise it if necessary, I was thing of using a section cut from a plug cap to shroud the joints. What is boiler ignition cable like as a matter of interest?
-
coaster - Posts: 2716
- Joined: Fri May 30, 2014 1:00 pm
- Location: Norfolk, Flying 8 Balls
Re: Jockey Boxtenstop Headlight
![]() by Nelly » Mon Mar 16, 2015 12:46 pm
by Nelly » Mon Mar 16, 2015 12:46 pm
There's loads of different types. The most common being a hard plastic shrouded single cable with heat shrunk insulated spades, bullets etc.
Here's a page to look through, boiler spares can be as much as a minefield as car spares.
http://www.gasboilerparts.co.uk/search. ... oduct_id=0
Here's a page to look through, boiler spares can be as much as a minefield as car spares.
http://www.gasboilerparts.co.uk/search. ... oduct_id=0
-
Nelly - Posts: 737
- Joined: Wed Dec 17, 2014 5:18 pm
- Location: Darlington
70 posts
• Page 2 of 4 • 1, 2, 3, 4
Who is online
Users browsing this forum: No registered users and 18 guests