LCGB Forums

The ability to post messages is restricted to LCGB members. Any questions contact us at lcgbadmin@googlemail.com

Series 2 survivor

LAMBRETTA ONLY PLEASE
Show your Lambretta off to us all with pictures of your pride and joy.

Re: Series 2 survivor

Postby Fast n Furious » Sun Aug 27, 2023 12:36 pm

dickie wrote:
ULC Soulagent wrote:Doesn’t do it any harm not too match n flow ;)
Have you checked the compression ratio?

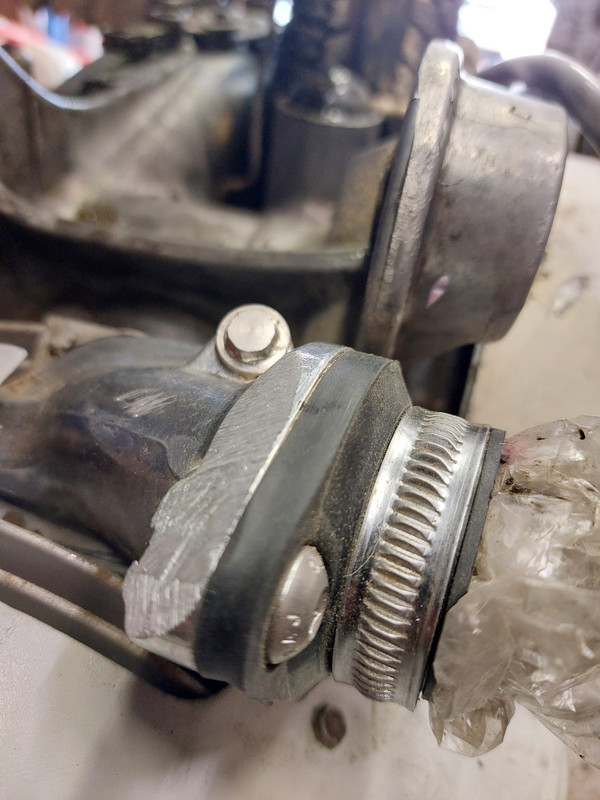
I wasn't going to bother as it's a very "normal" kit. But you've asked now, so I will. I suppose the 62mm stroke will probably raise the uncorrected ratio and reduce the corrected one, by virtue of effectively raising the exhaust port? Can't see it making a huge difference though.

You could measure the corrected compression ratio using a quality compression gauge that has its check valve incorporated in the bit that screws into the plug hole.
Don't use the ting tong ones that have the check valve in the bourdon gauge. These will give you a false reading because they increase the compressed volume capacity.
User avatar
Fast n Furious
 
Posts: 1512
Joined: Sat Nov 19, 2016 3:56 am
Location: York

Re: Series 2 survivor

Postby dickie » Sun Aug 27, 2023 2:23 pm

I took a good amount off the back of the manifold with a bastard file. Now has a good 3mm clearance even with the longer S2 shock and no weight on the suspension at all.

There was loads of meat to cut into if anyone is thinking of using one of these. I'm not sure why I was being such a fanny.
Image
dickie
 
Posts: 1759
Joined: Thu Oct 02, 2014 12:32 pm
Location: Tyne and Wear

Re: Series 2 survivor

Postby dickie » Sun Aug 27, 2023 2:28 pm

Fast n Furious wrote:You could measure the corrected compression ratio using a quality compression gauge that has its check valve incorporated in the bit that screws into the plug hole.
Don't use the ting tong ones that have the check valve in the bourdon gauge. These will give you a false reading because they increase the compressed volume capacity.


I'll see if my mate has one. He only buys quality tools, so if he has one, it'll be decent, probably.
dickie
 
Posts: 1759
Joined: Thu Oct 02, 2014 12:32 pm
Location: Tyne and Wear

Re: Series 2 survivor

Postby dickie » Sun Aug 27, 2023 2:35 pm

Thanks Pete. I've just been looking for one, but I can't tell where the check valve is. Do you mean a one-way valve or the pressure relief button? Is the one in the image the better type?
Image
dickie
 
Posts: 1759
Joined: Thu Oct 02, 2014 12:32 pm
Location: Tyne and Wear

Re: Series 2 survivor

Postby dickie » Mon Mar 11, 2024 9:52 pm

As I've booked for seahouses, it's hopefully giving me some inspiration to get this from 95% to 100%.

It's going to be full DC 12V with no battery. So I bought a cheap Indian DC horn and fitted it to the original horn bracket.
Image

I also think it's maybe time I fitted a new cord to my soldering iron.
Image

As I'm not using a battery, I like to use a capacitor to take the worst of any possible spikes. This time, I've gone for 3000microfarads as the 10,000 on my S3 bitsa takes a bit of kicking over before the voltage can stabilise at 12V. Plus I've hidden it inside a regulator box just for aesthetic reasons.
Image
dickie
 
Posts: 1759
Joined: Thu Oct 02, 2014 12:32 pm
Location: Tyne and Wear

Re: Series 2 survivor

Postby dickie » Tue Mar 12, 2024 11:29 pm

I noticed the fuel cap didn't have a breather, so I drilled a 1.5mm hole. I thought late series 2 had the breather hole? I'm either wrong or it's been replaced with an earlier type.
Image

I want to have an airbox, just for originalish looks, but I can't use a series 2 airbox with the engine I've built. So, as I had an old modified series 3 type kicking about, why not use that? It's pretty much the same colour as the rest of the tinware now that time has taken its toll. But the indent for the toolbox screw isn't big enough on a series 3 to work on a series 2. 3 whacks with a big hammer sorted it.
Image
Does anyone have any tips for fitting these buggers?
Image
dickie
 
Posts: 1759
Joined: Thu Oct 02, 2014 12:32 pm
Location: Tyne and Wear

Re: Series 2 survivor

Postby Rich Oswald » Wed Mar 13, 2024 12:09 pm

No teaching you to suck eggs Dickie, but did you look under the fuel cap handle, in the centre, for the breather hole? Sorry if that is obvious.

Rich'
User avatar
Rich Oswald
 
Posts: 8816
Joined: Fri May 30, 2014 3:30 pm
Location: Wiseman From The East (East Of The Pennines That Is)

Re: Series 2 survivor

Postby dickie » Wed Mar 13, 2024 12:34 pm

Rich Oswald wrote:No teaching you to suck eggs Dickie, but did you look under the fuel cap handle, in the centre, for the breather hole? Sorry if that is obvious.

Rich'


I take no advice as insulting; nobody knows everything even if they think they do. But yes, I did check and was surprised to see it didn't have one. As I type this, I'm wondering what even made me look in the first place!
dickie
 
Posts: 1759
Joined: Thu Oct 02, 2014 12:32 pm
Location: Tyne and Wear

Re: Series 2 survivor

Postby Rich Oswald » Wed Mar 13, 2024 1:08 pm

dickie wrote:
Rich Oswald wrote:No teaching you to suck eggs Dickie, but did you look under the fuel cap handle, in the centre, for the breather hole? Sorry if that is obvious.

Rich'


I take no advice as insulting; nobody knows everything even if they think they do. But yes, I did check and was surprised to see it didn't have one. As I type this, I'm wondering what even made me look in the first place!


What prompted me to ask this was, I restored S1 quite a few years ago now and it would only run for a few minutes before cutting out. Found out that it was the original fuel cap with no breather hole. A new cap cured it.

Rich'
User avatar
Rich Oswald
 
Posts: 8816
Joined: Fri May 30, 2014 3:30 pm
Location: Wiseman From The East (East Of The Pennines That Is)

Re: Series 2 survivor

Postby dickie » Tue Mar 19, 2024 10:36 pm

Just a bit more pottering. Took the seats and frame grill off to polish. I'm too scared to use t-cut as the paint is so old. But I've found that sonax polish is very slightly abrasive, sort of like 25% of t-cut. Then finished off with turtle wax.
Image
Image
Image
Then I got called in for my tea
dickie
 
Posts: 1759
Joined: Thu Oct 02, 2014 12:32 pm
Location: Tyne and Wear

Re: Series 2 survivor

Postby Solid Air » Tue Mar 19, 2024 10:37 pm

Looking good Dickie 8-)
User avatar
Solid Air
 
Posts: 984
Joined: Sun Jun 01, 2014 10:58 pm
Location: Cambridge

Re: Series 2 survivor

Postby dickie » Mon Mar 25, 2024 9:57 pm

Rather satisfying getting 60 odd years of grime off. I had to resort to t-cut.
Image
Image
But unfortunately I was too hasty taking the rear light off. I'll have to drill and tap this.
Image
To say I'm pissed off with myself would be an understatement.
dickie
 
Posts: 1759
Joined: Thu Oct 02, 2014 12:32 pm
Location: Tyne and Wear

Re: Series 2 survivor

Postby dickie » Wed Apr 10, 2024 8:10 pm

After the mild trauma of me damaging the rear light housing through haste and stupidity, I managed to recover the situation.

I didn't know if the m5 stud that is cast into the housing was a stud or a screw with some type of head. So, I cut it flush on the rear, then drilled from the front until I exposed the steel. Then, I drove it out with a parallel punch. There was some damage from where the drill had wandered, so I filled the hole with jb weld, then drilled and tapped it. Not perfect, but my sins aren't visible without taking it apart.
Image
Image
dickie
 
Posts: 1759
Joined: Thu Oct 02, 2014 12:32 pm
Location: Tyne and Wear

Previous

Return to Show Your Ride

Who is online

Users browsing this forum: No registered users and 57 guests

cron